Installation Instructions
Installation is easy…here’s What You’ll Need
Cordless Drill
3/16” Drill Bit (use a nice sharp bit!)
1/8” Allen Wrench
3/8” Wrench or Socket
Pliers
Step 1
Clean your fenders up so the installation goes smoothly. Clean out the wheel well area as well so you don’t have to fight with mud, dirt, and grime during the install.
STEP 2
If you’re installing a Modular FenderLink using existing rivet holes in a fender, skip to step 12. Otherwise proceed to step 3.
STEP 3
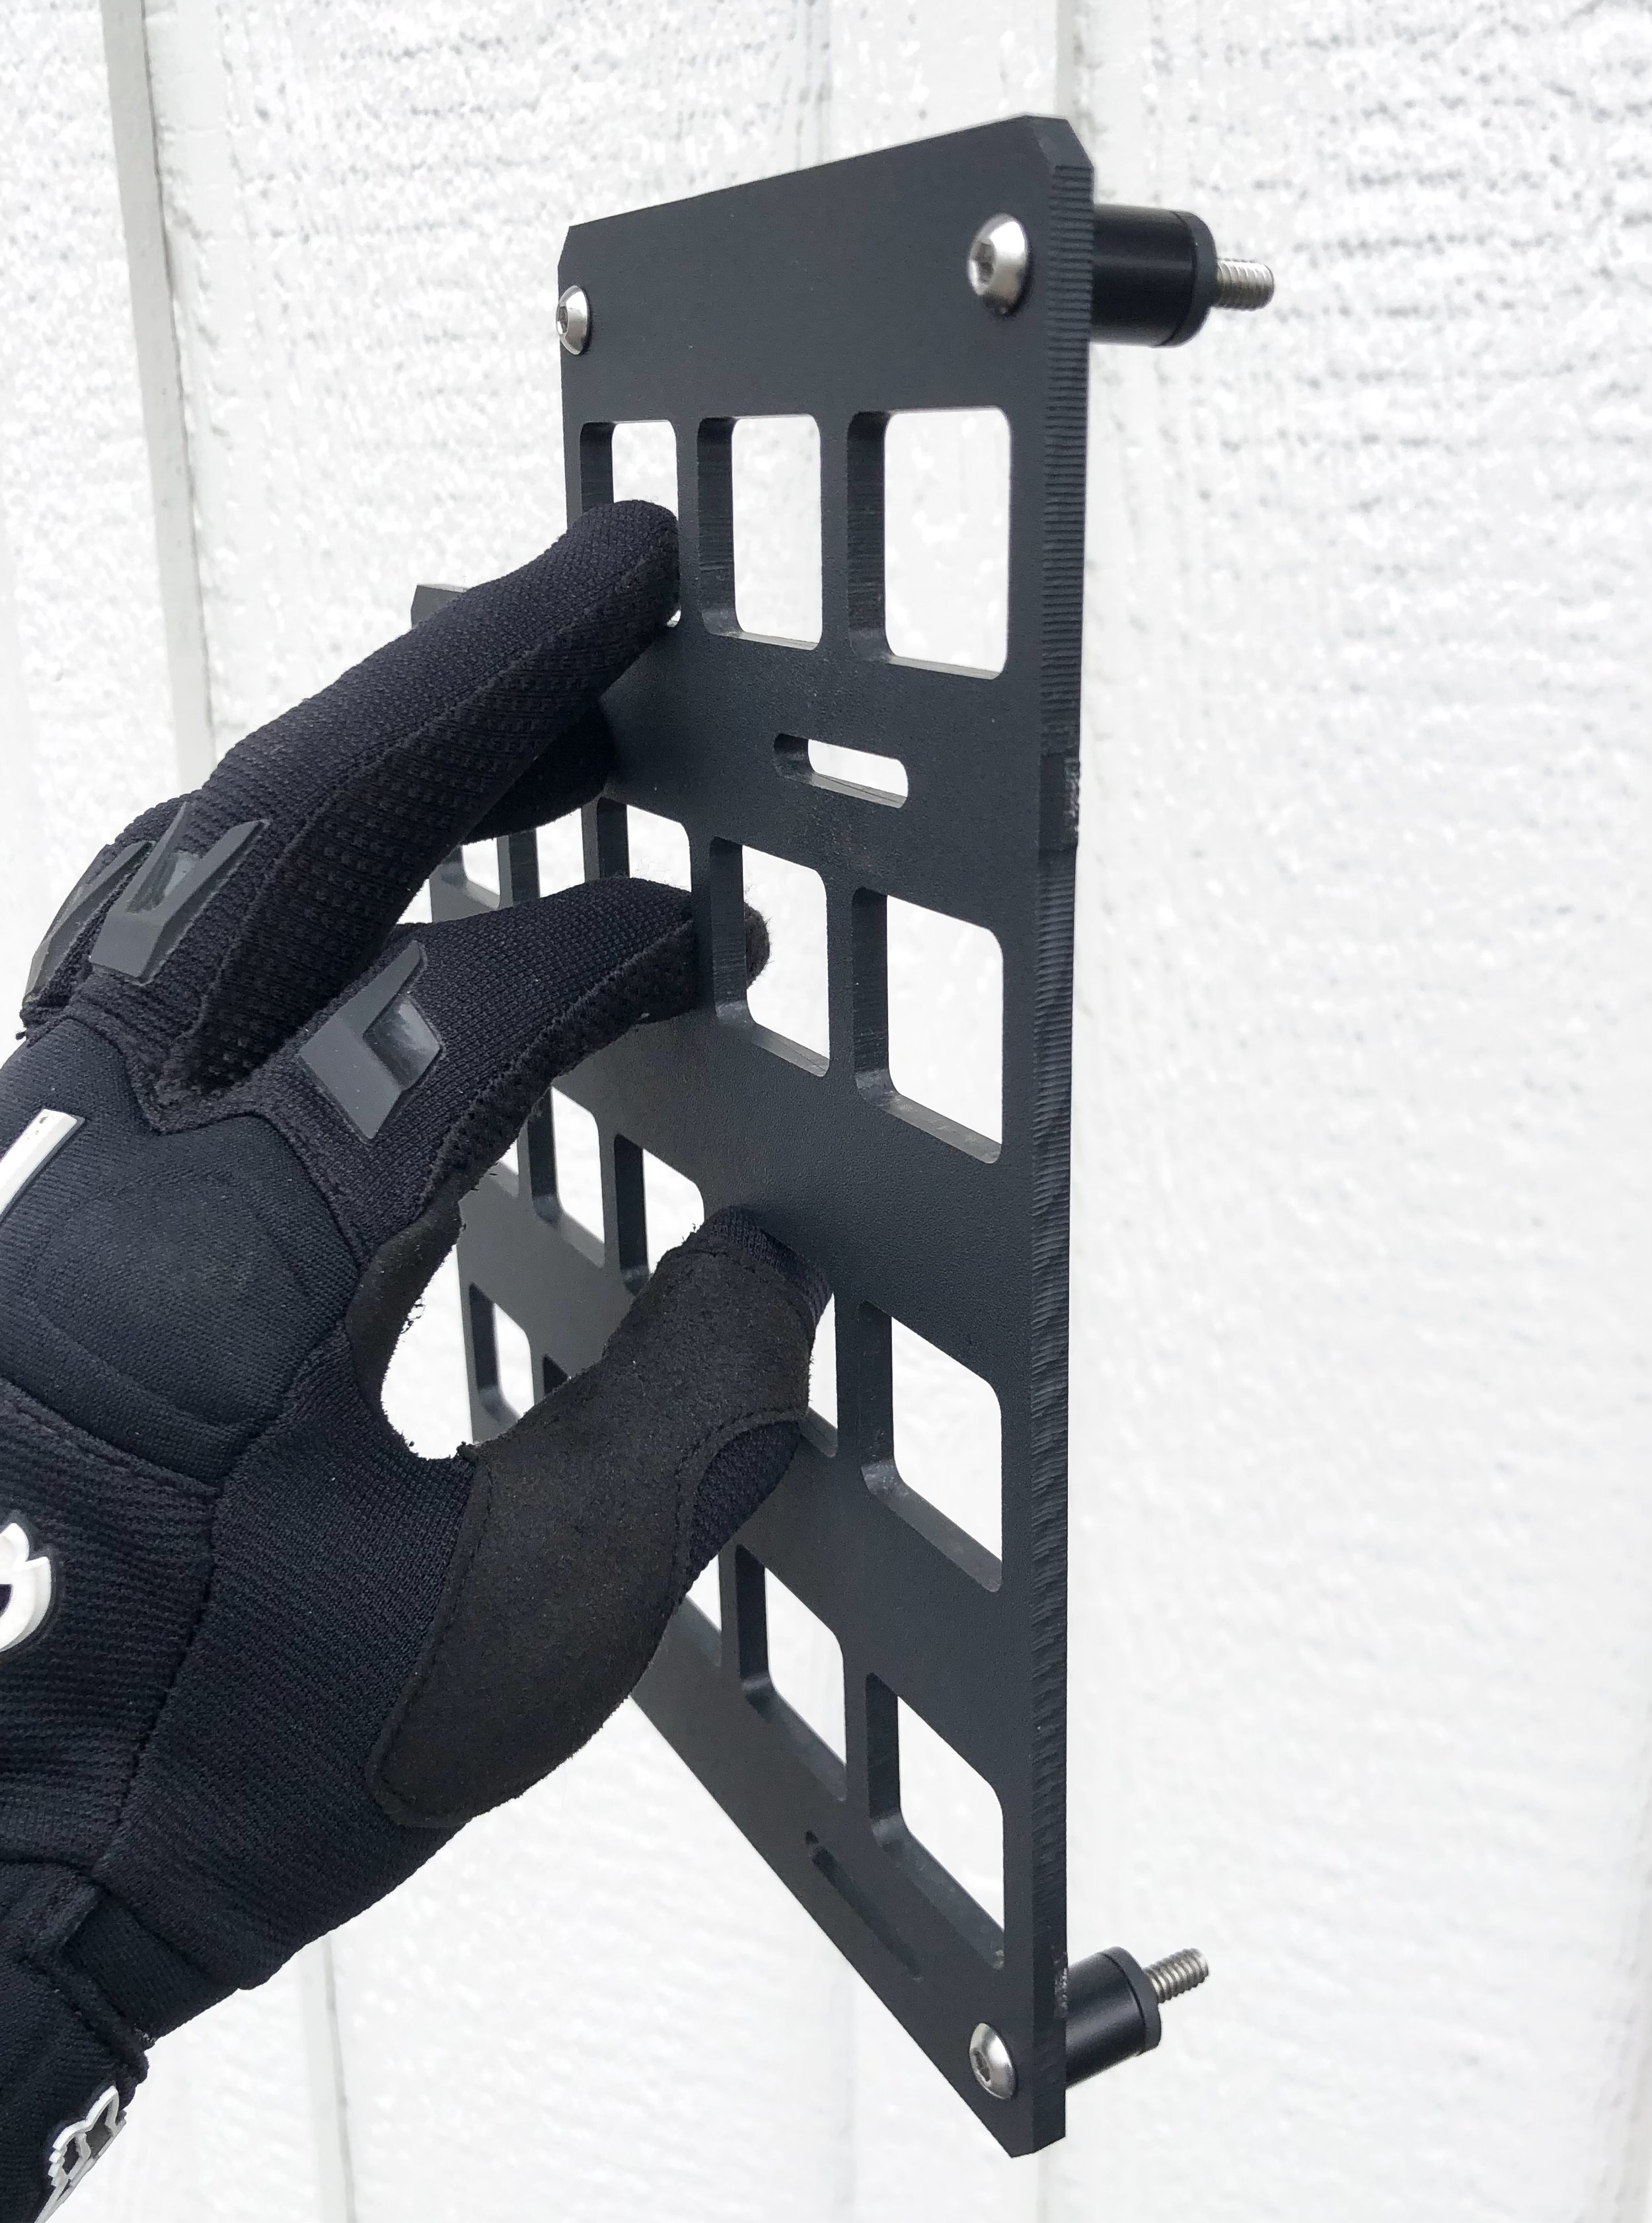
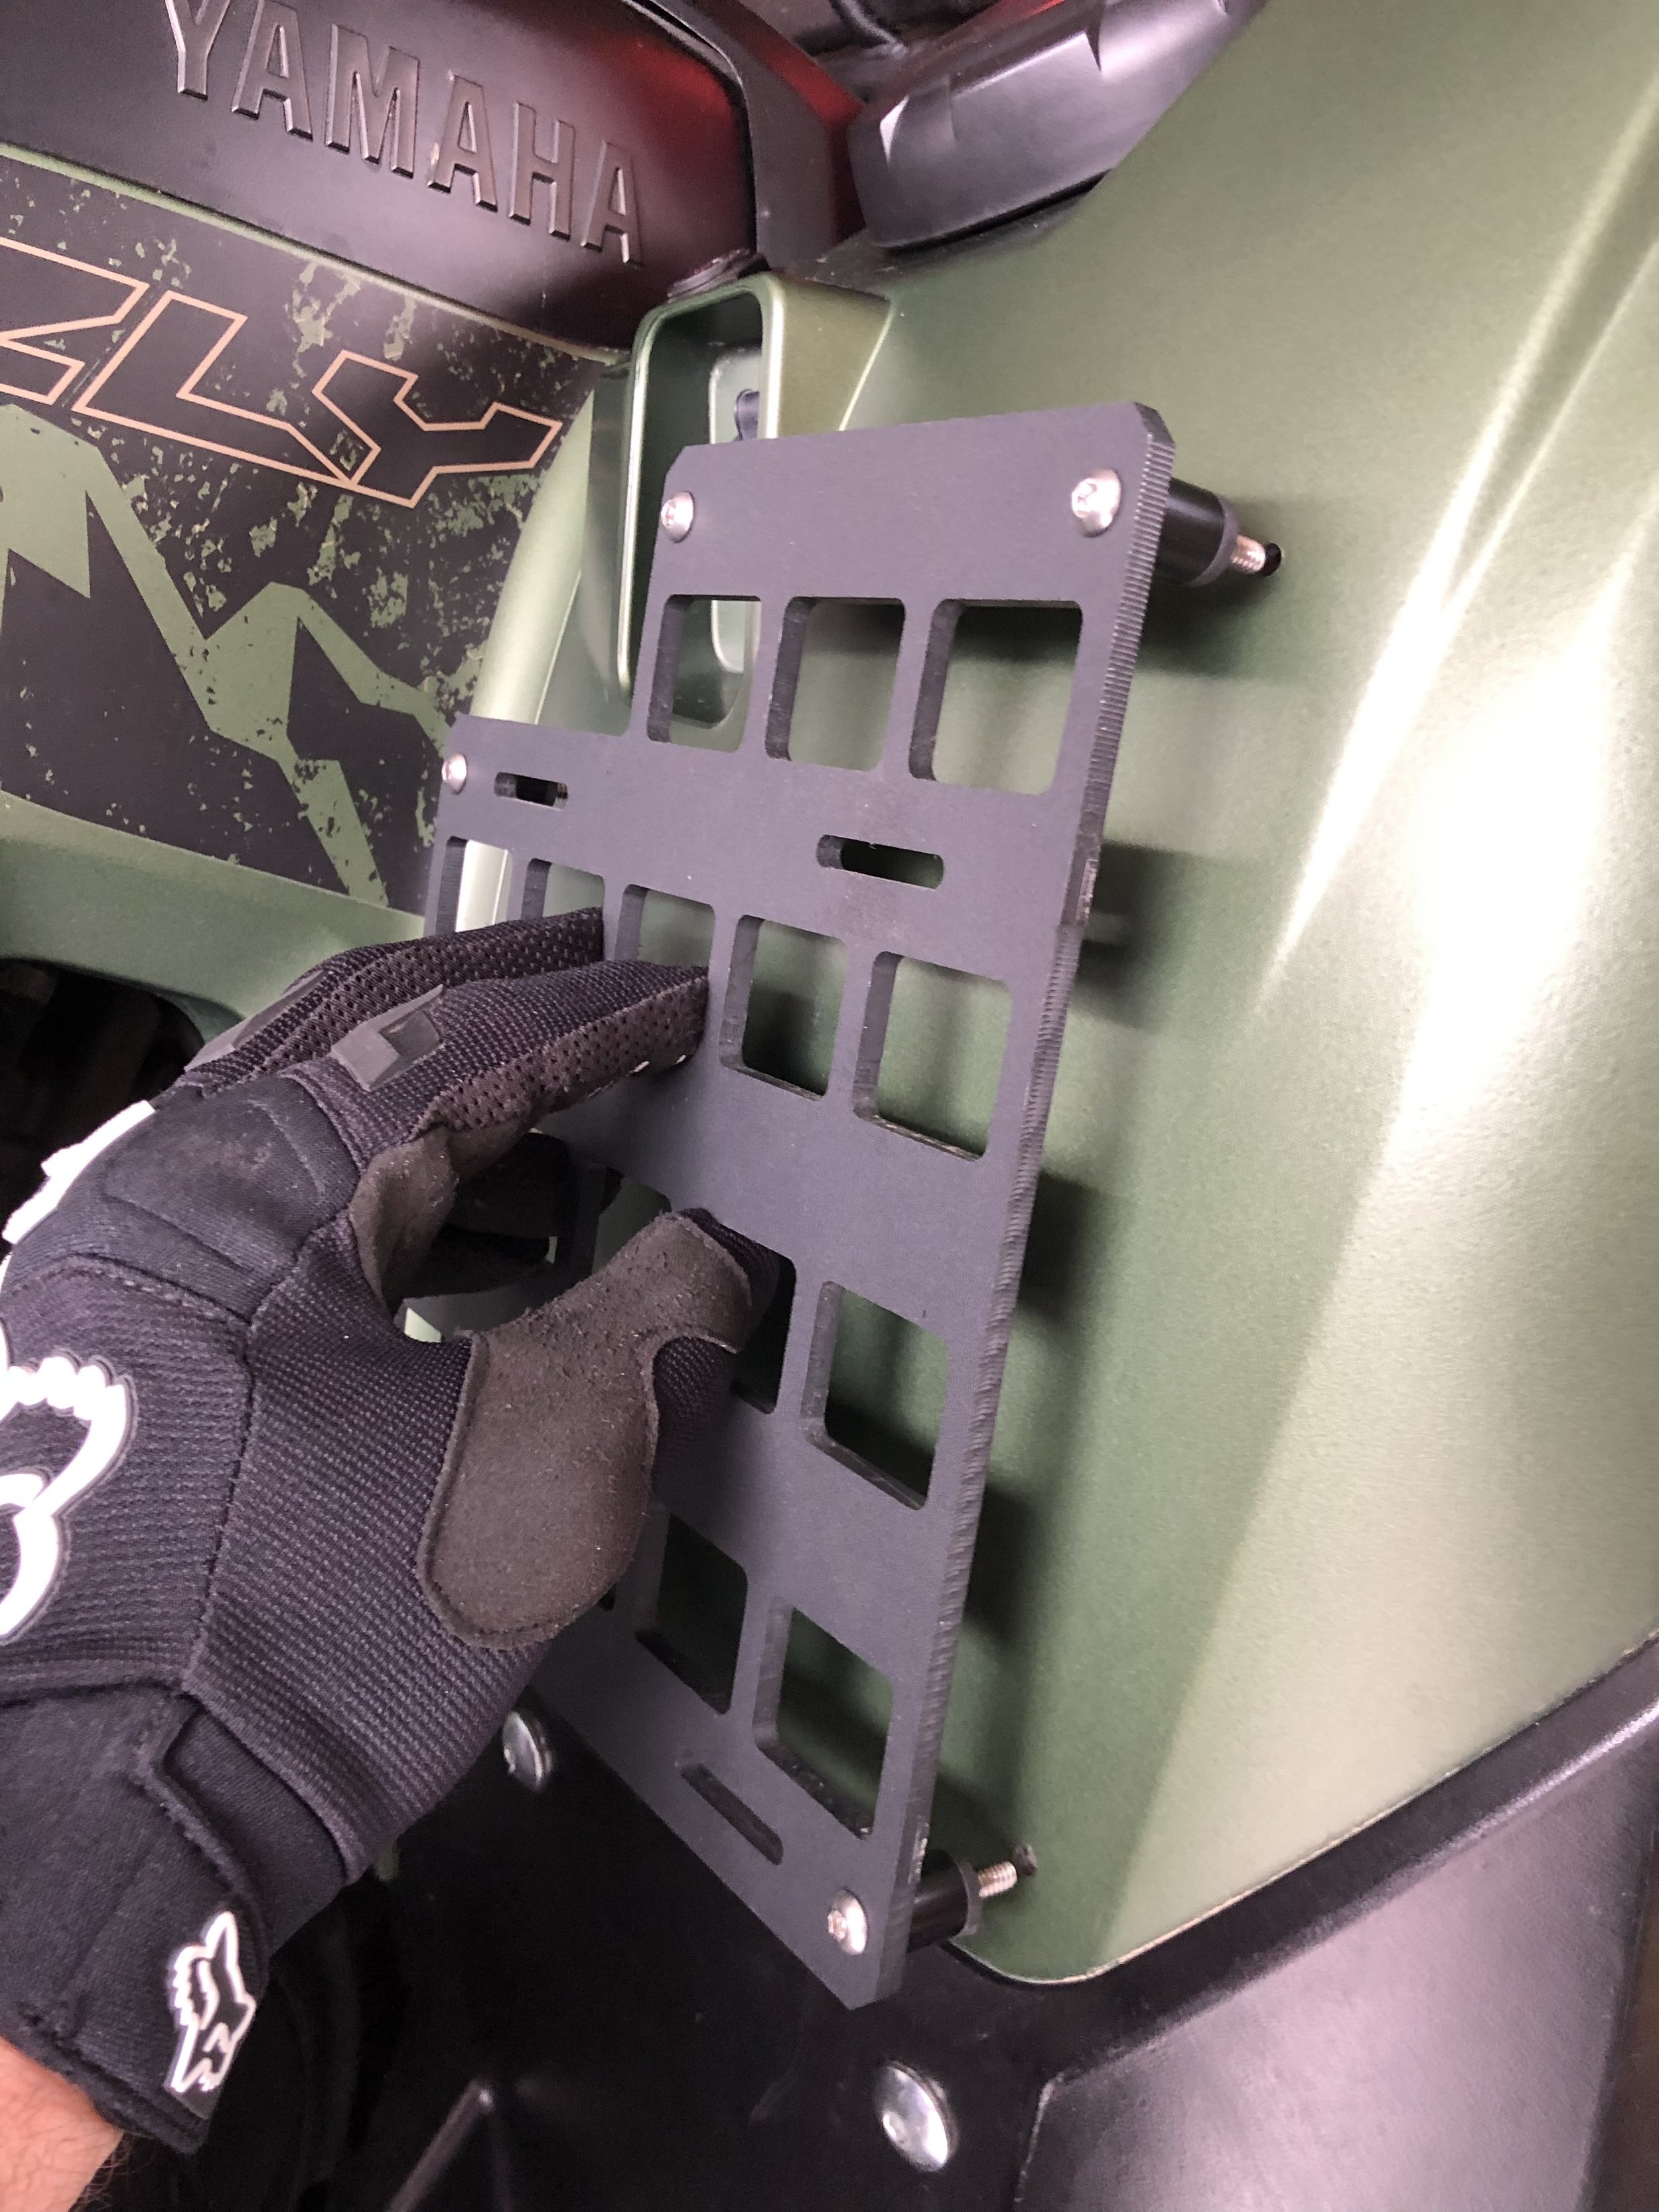
DON’T RUSH THIS STEP. Take your Modular FenderLink (no hardware yet, just the mount itself) and place it against your fender. The FenderLink will act as a template for locating and drilling the mounting holes in the fender. The goal is to find the perfect visual and functional location for the FenderLink. Pay attention to the contours of the fender and the spacing of nearby features. Be sure that you don’t place a mounting hole too close to any abrupt curves on the fender. Otherwise, the included 1/2” anodized aluminum spacers may not sit flat against the fender. Once you’re visually satisfied with the location, move to the next step.
STEP 4
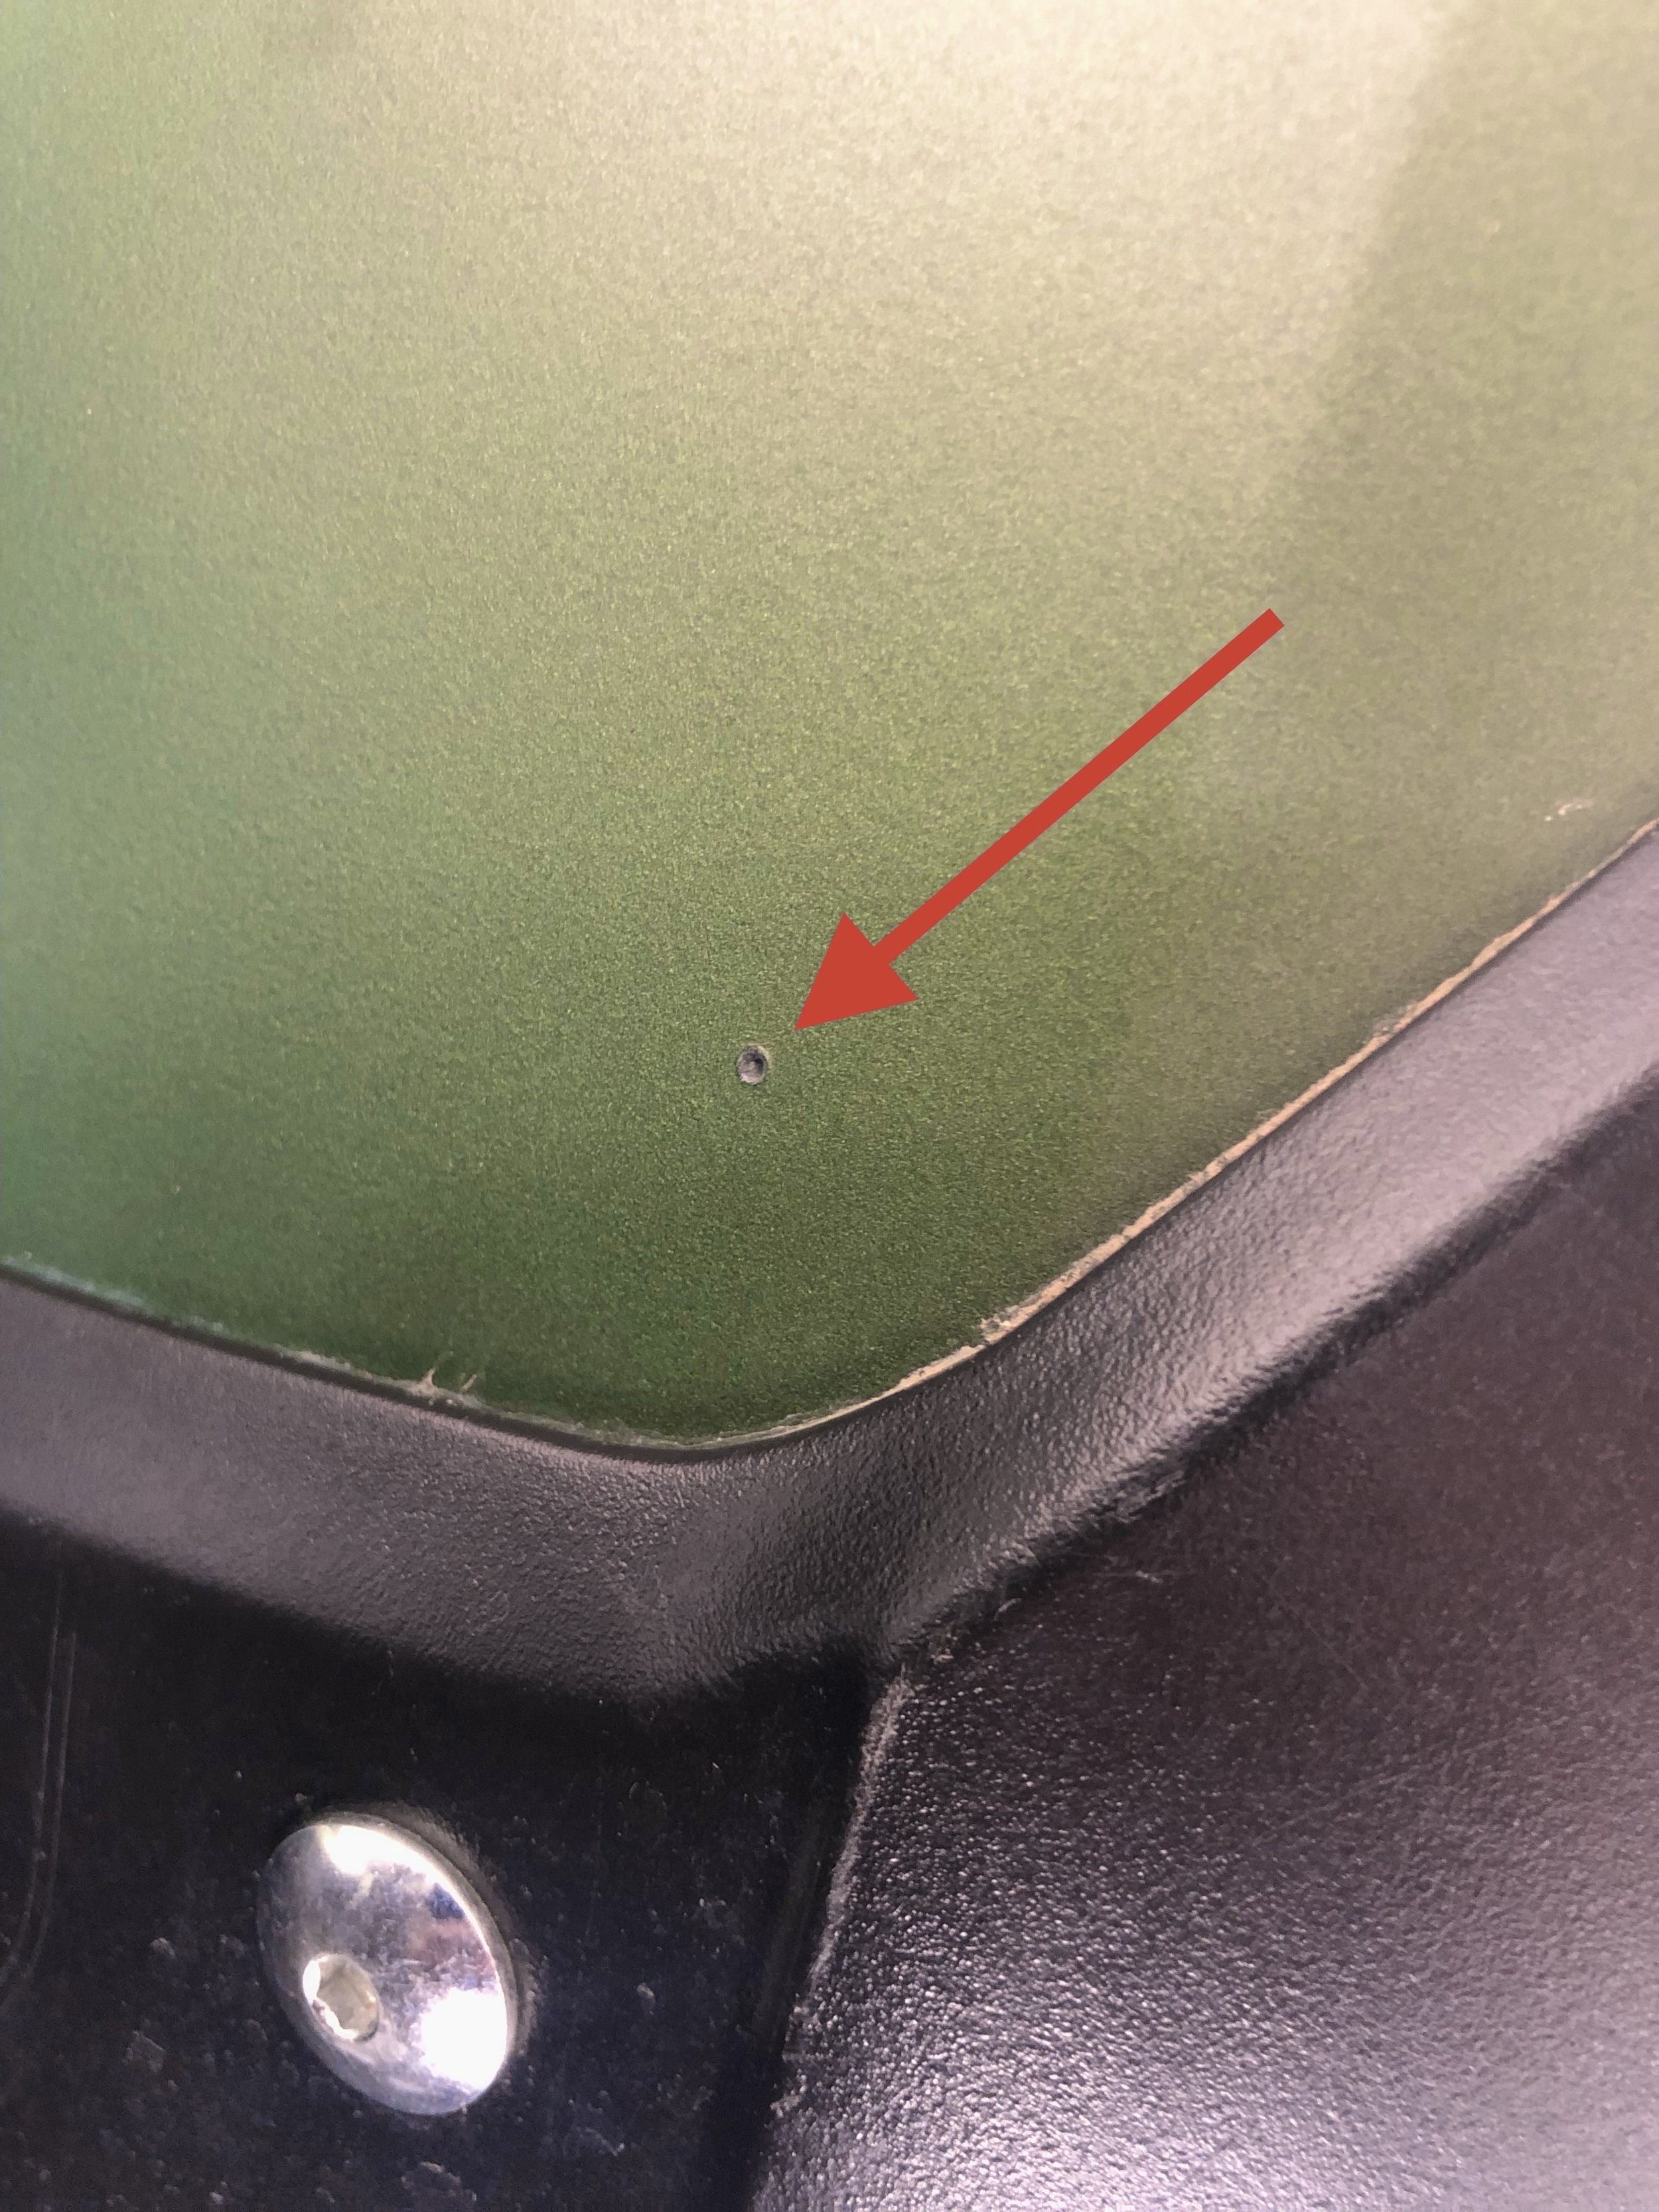
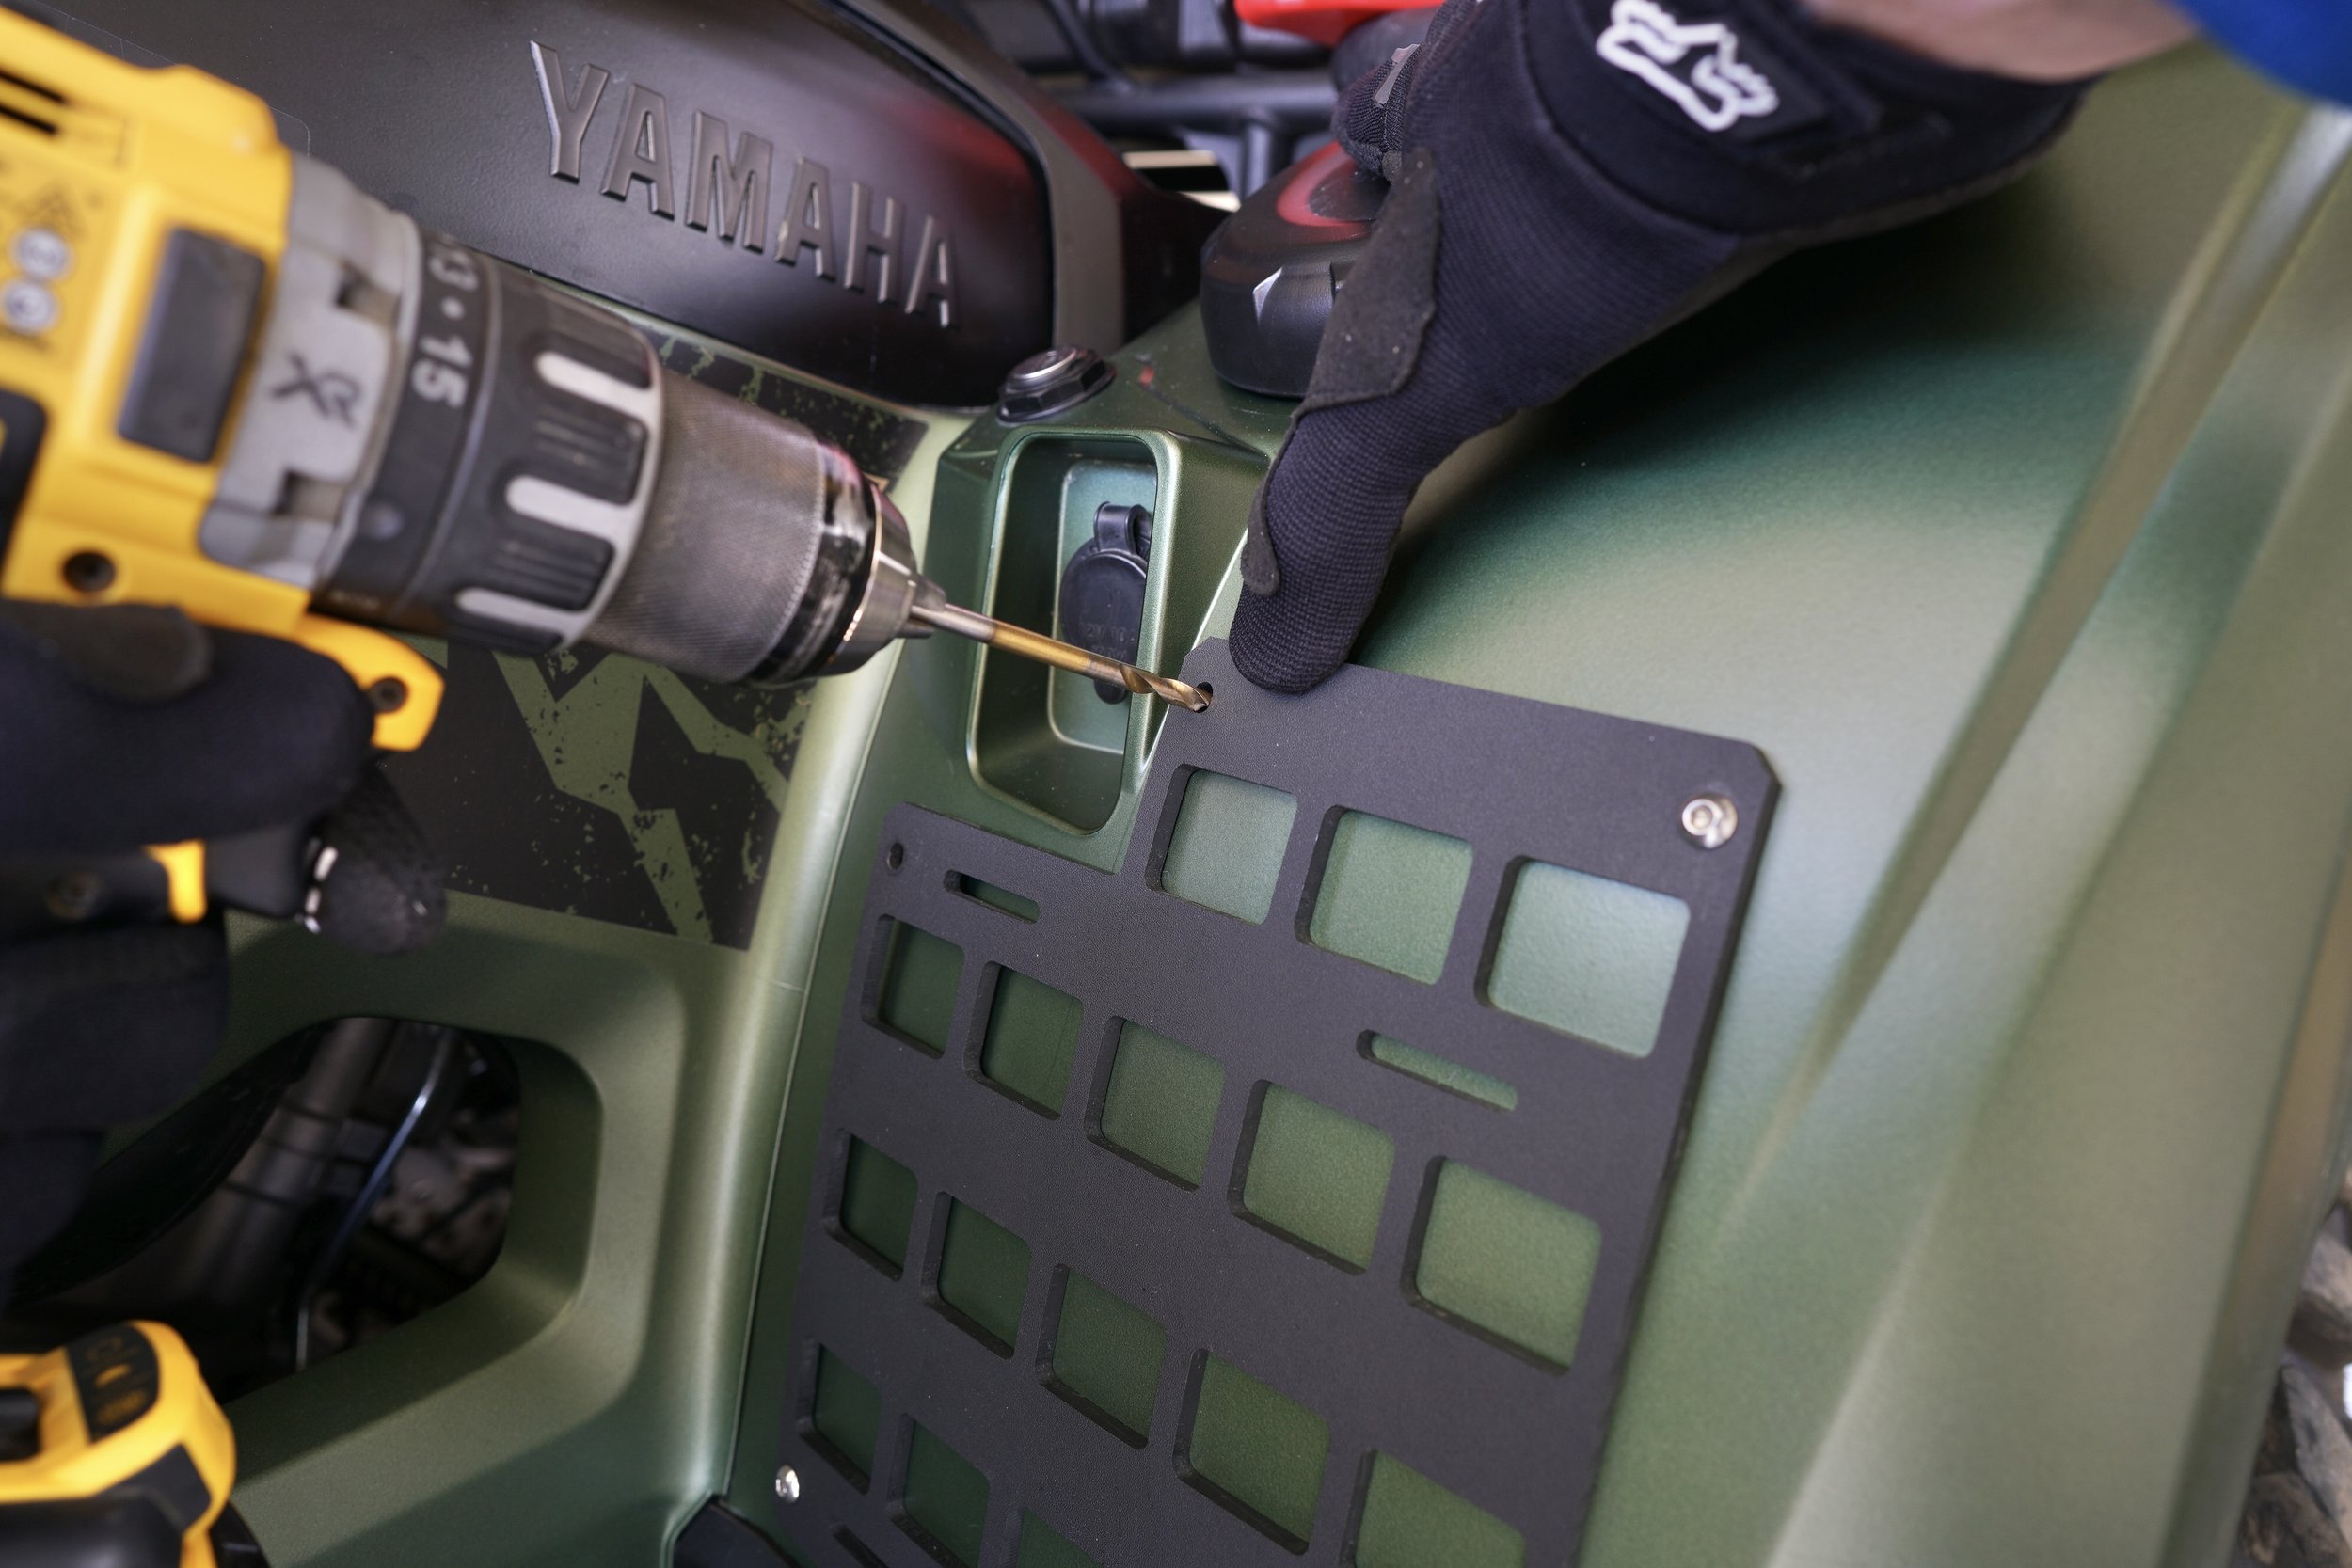
Grab that sharp 3/16” drill bit so you can use it to carefully mark the location of the first hole to be drilled in the fender. With the Modular FenderLink held in place, take the drill bit and place it into one of the holes at the bottom of the FenderLink (Don't start with a top hole—more on that later). Give the drill bit a few twists by hand to mark the location of the hole. If you’re using a sharp bit, it won’t take much, but be sure to leave a small indent. This will guide the bit once you’re ready to do the actual drilling. ONLY mark one of the mounting hole locations. It won’t be necessary to mark the remaining holes.
Tip: To prevent the FenderLink from sliding around on the fender during this step, have a second person hold it securely in place while you mark the hole location with the drill bit.
STEP 5
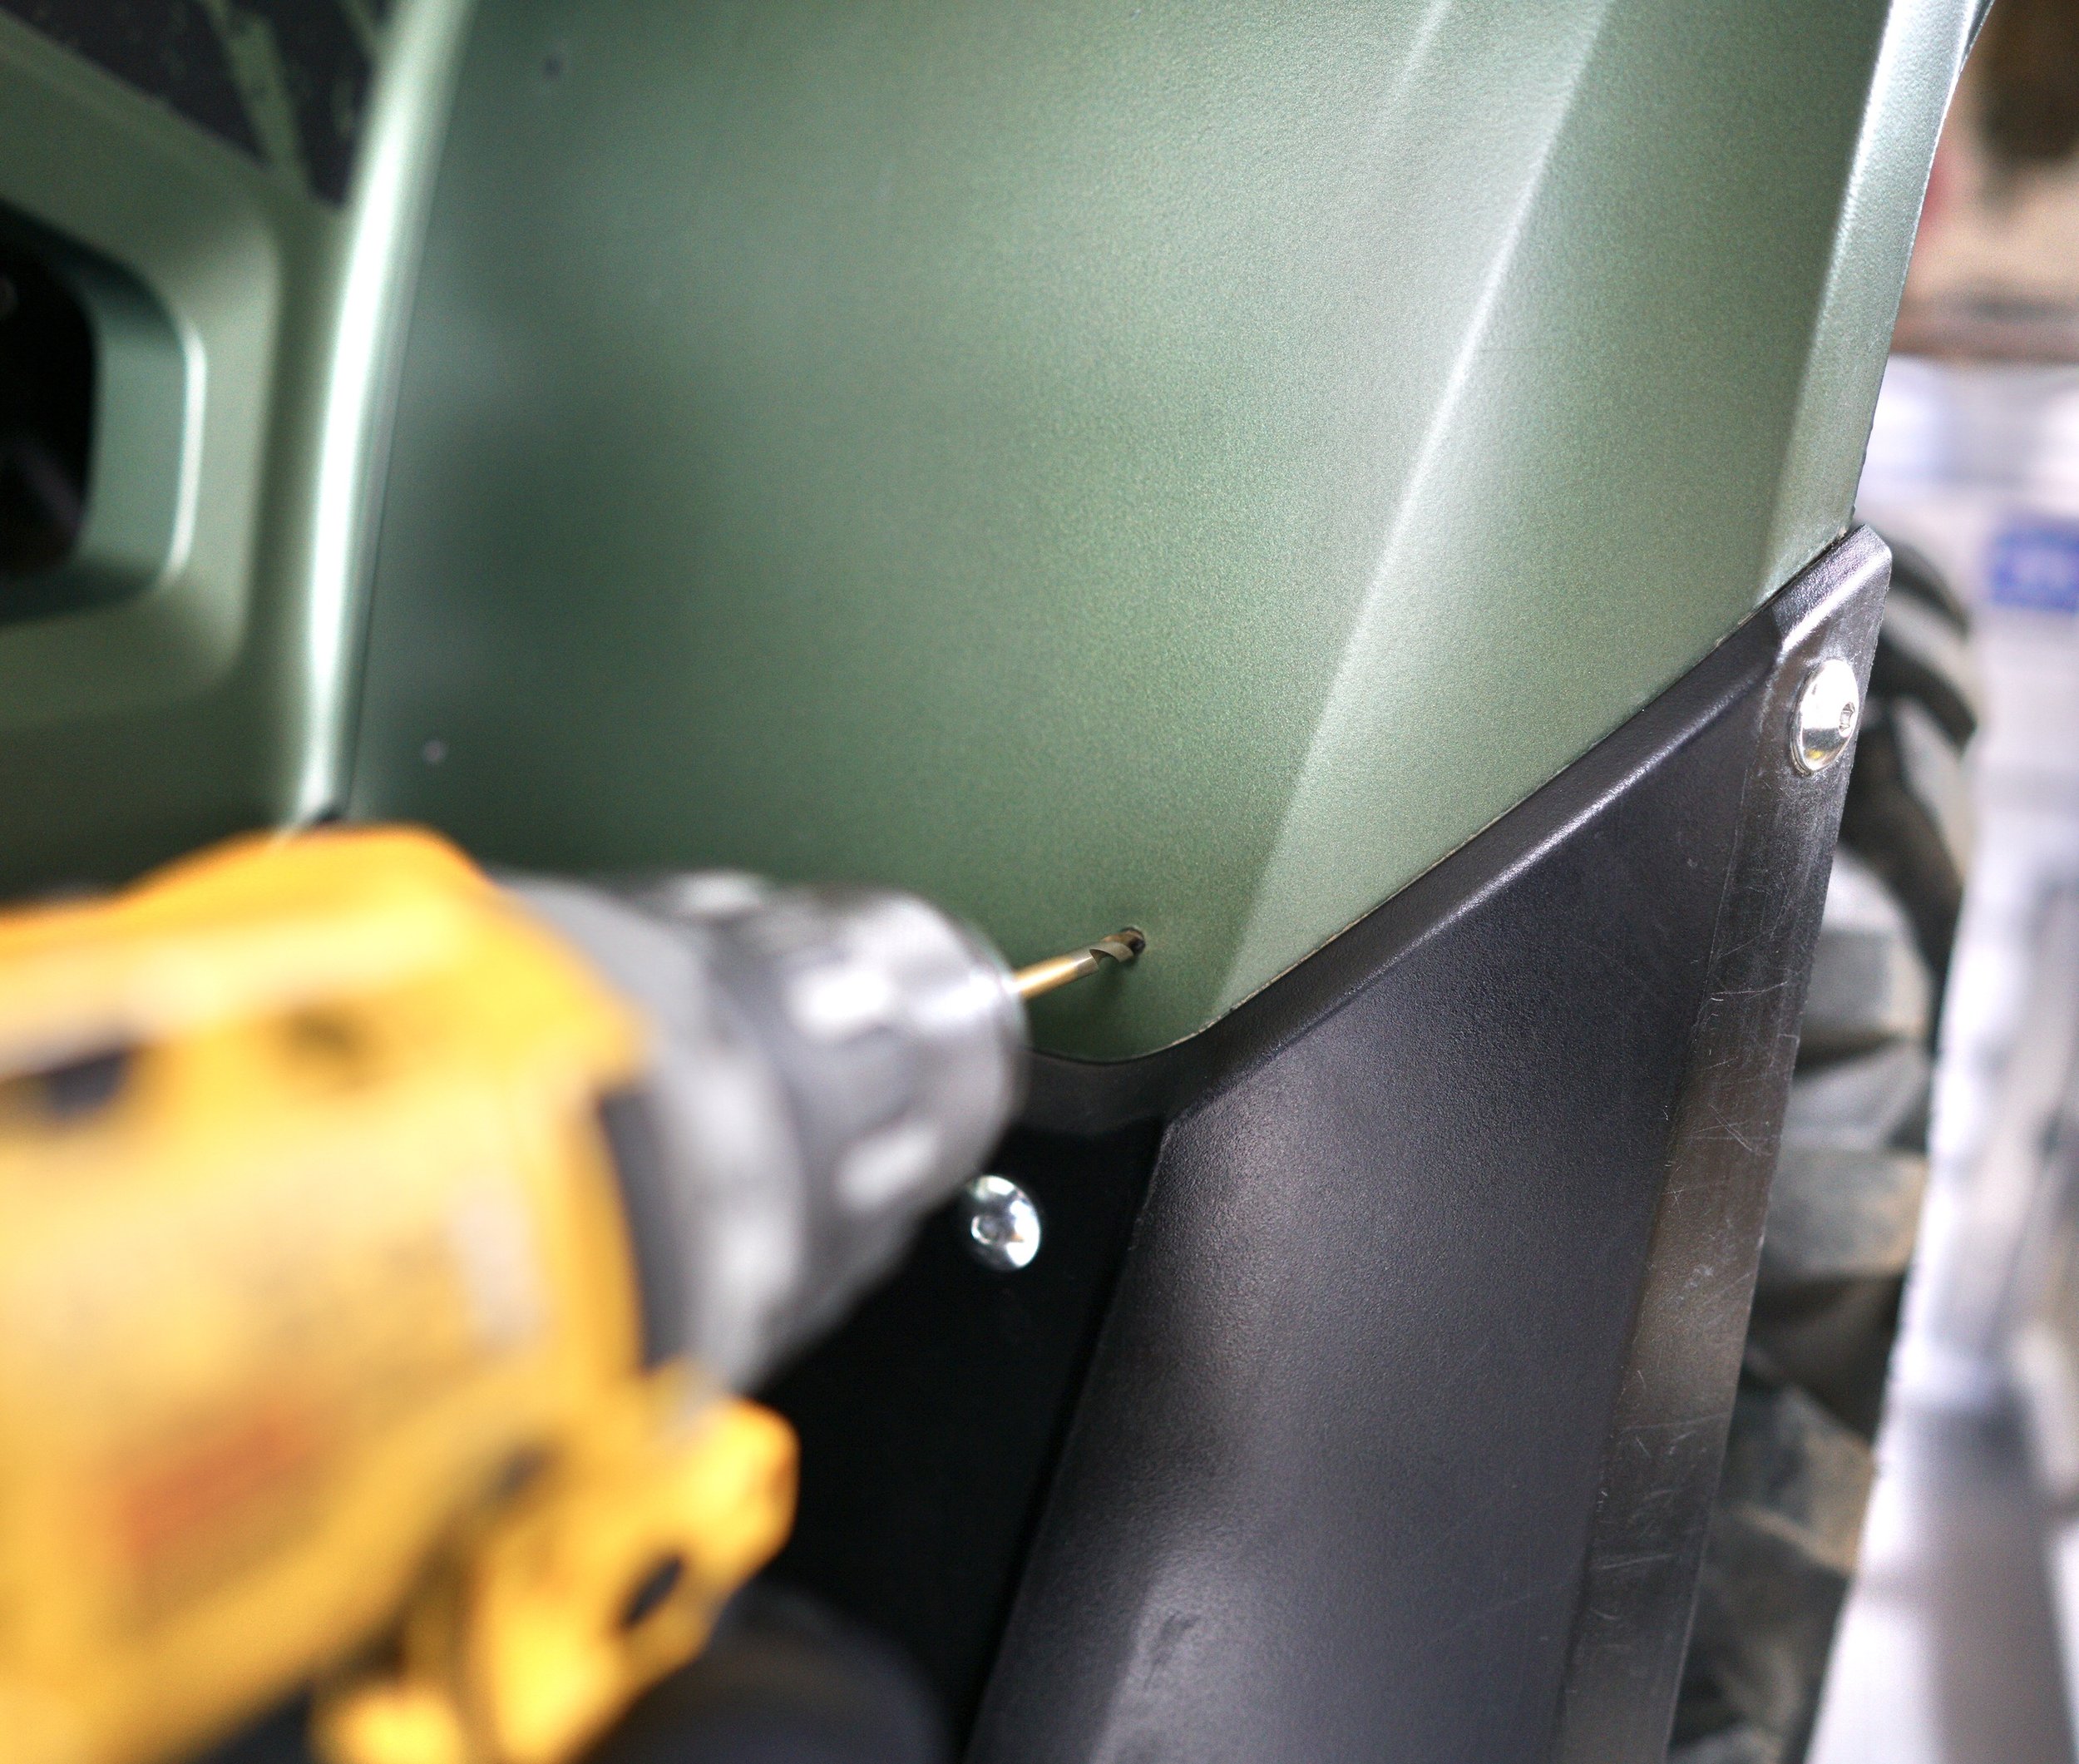
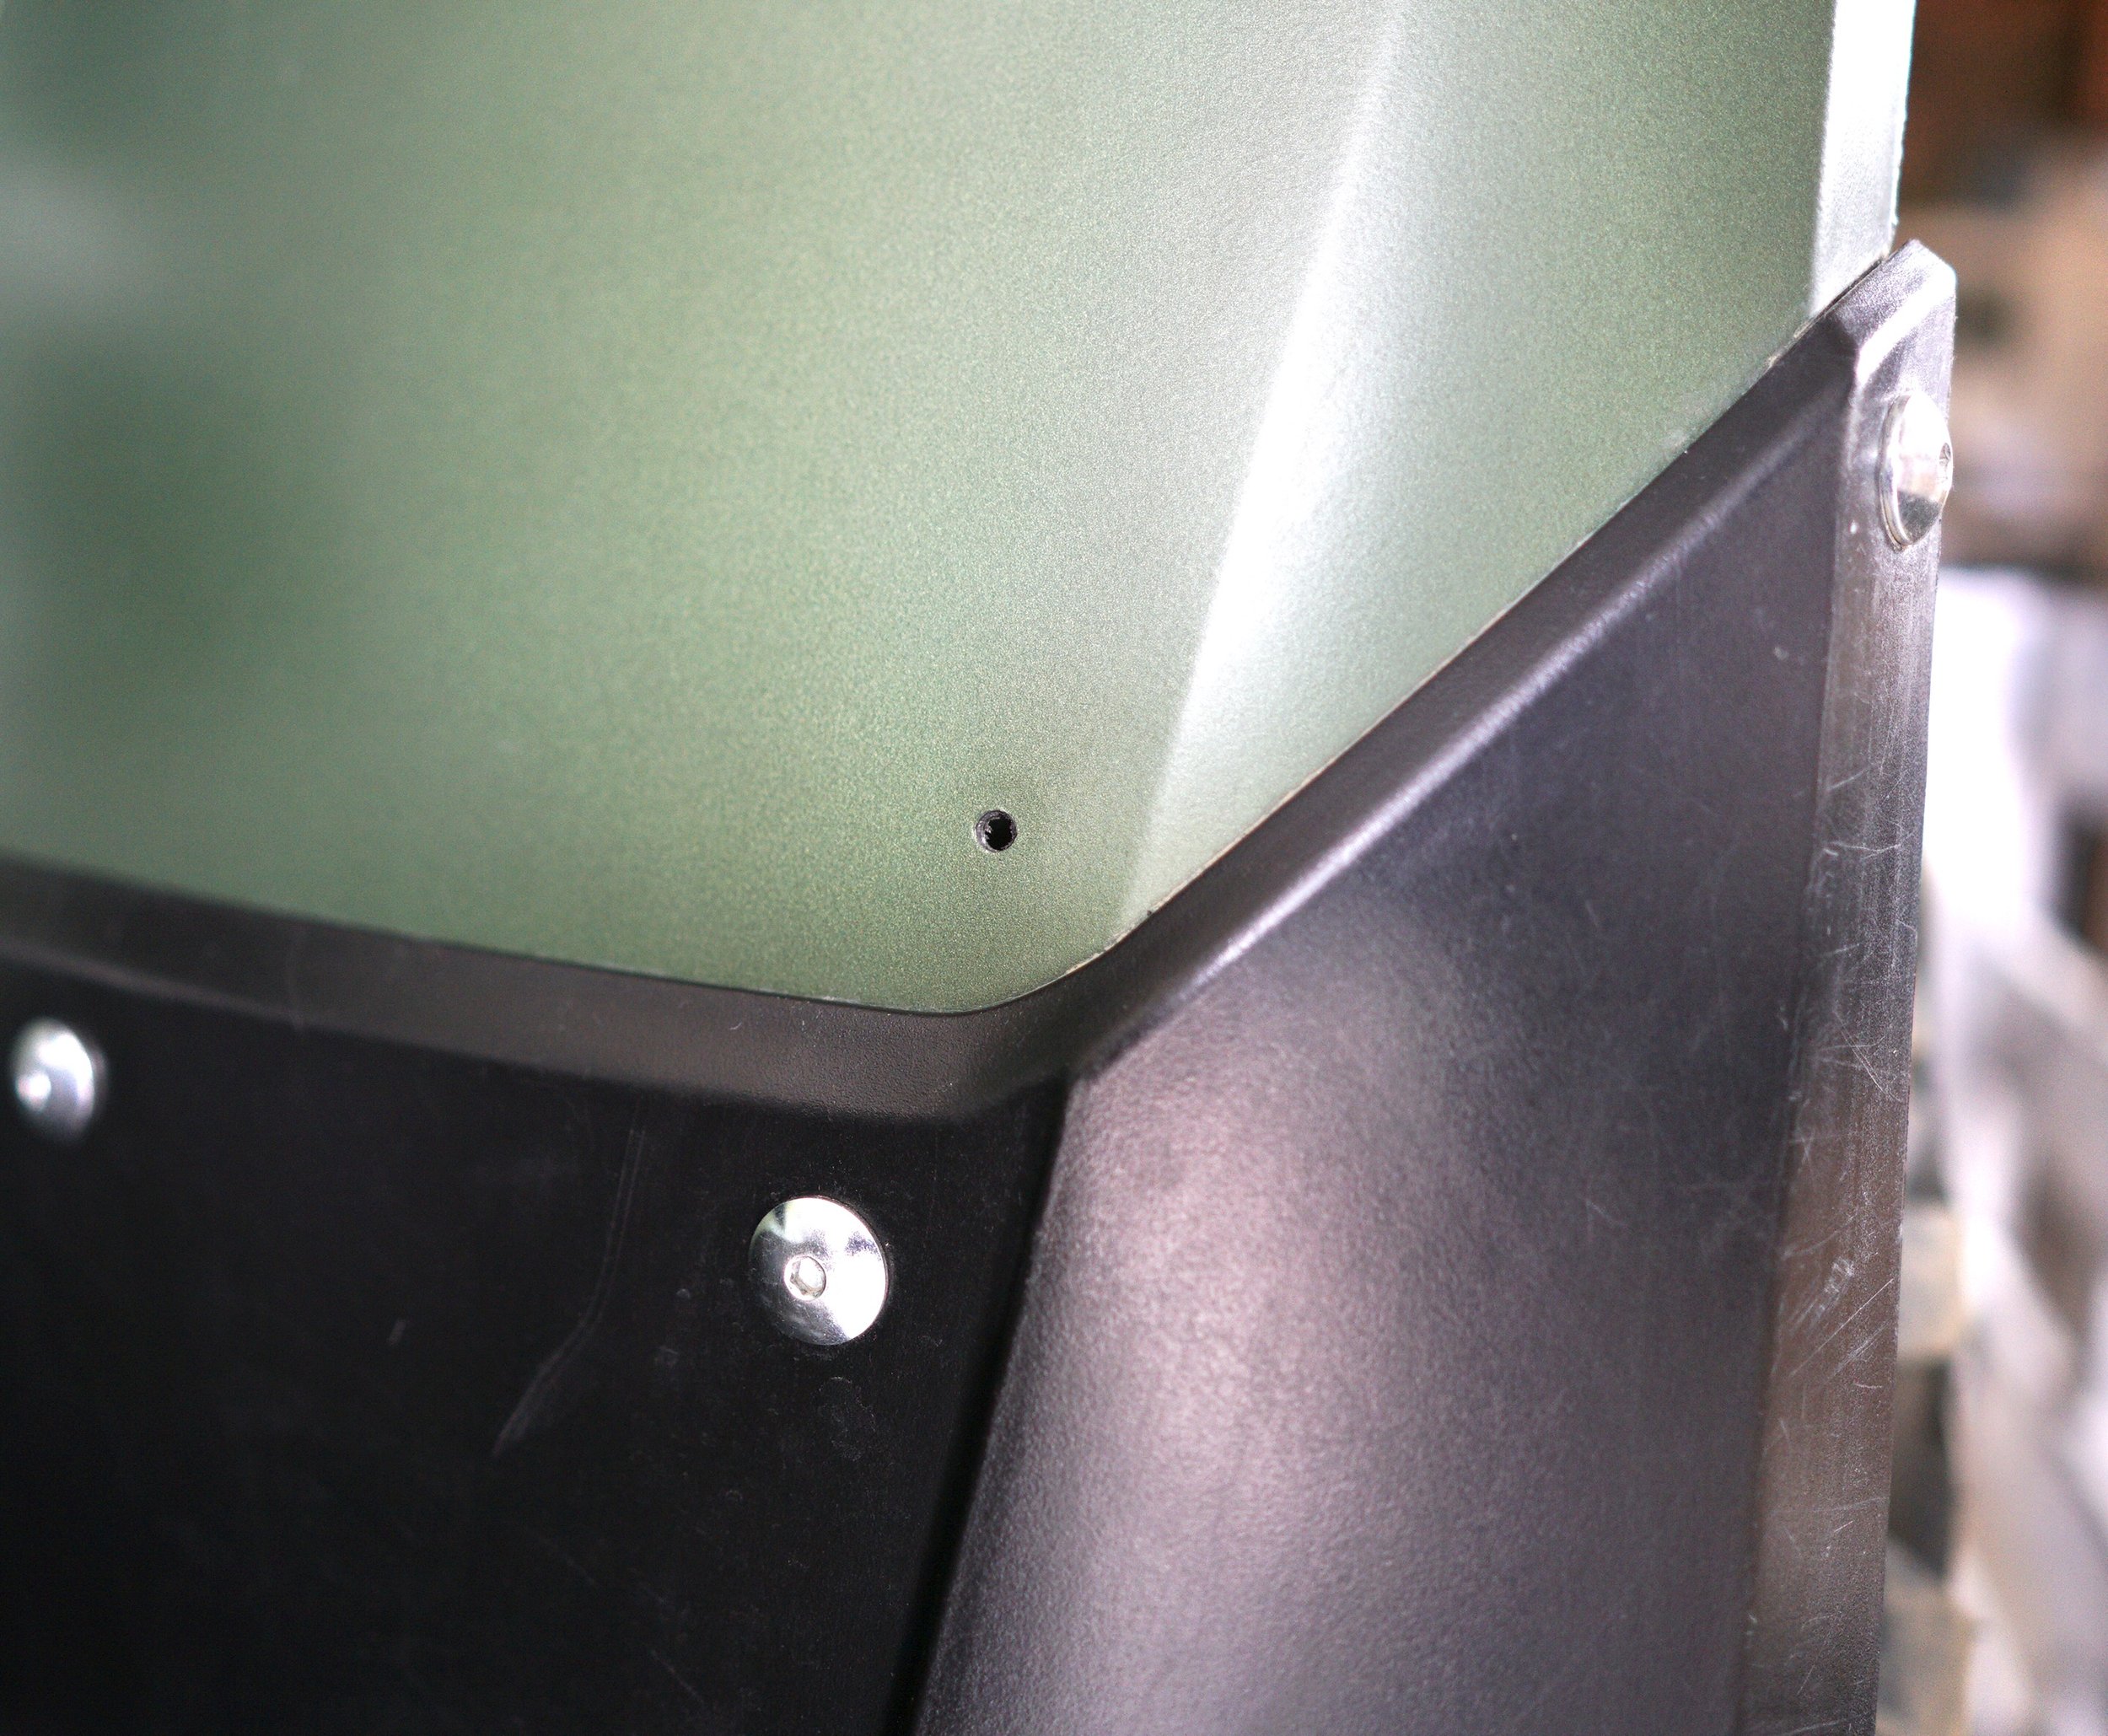
Using the 3/16” drill bit, drill the first hole with your cordless drill. Take your time and you should end up with a very clean hole.
STEP 6
Take the Modular FenderLink and place it against the fender. Use one of the included mounting screws (don’t use a spacer and/or nut, just the screw) to temporarily secure the Modular FenderLink in place. The included screws will slide right through the hole in the Modular FenderLink, but they are sized just large enough to lightly thread into the newly drilled 3/16” hole in the fender. This will make it easy to temporarily secure the Modular FenderLink in place for drilling the remaining holes. Remember, the spacers will come later. For now the focus is getting the holes drilled in the perfect locations.
STEP 7
Now that a bottom corner of the Modular FenderLink is secured against the fender with a mounting screw, you can easily adjust the Modular FenderLink to its perfect position for drilling the remaining holes. Press the Modular FenderLink tightly against the fender—allowing it the bend to the contours of the fender—and carefully drill the hole for the second bottom corner of the mount. IMPORTANT: DON’T DRILL THE TOP HOLES YET. More on that below. Once the hole is drilled, secure it with another mounting screw.
STEP 8
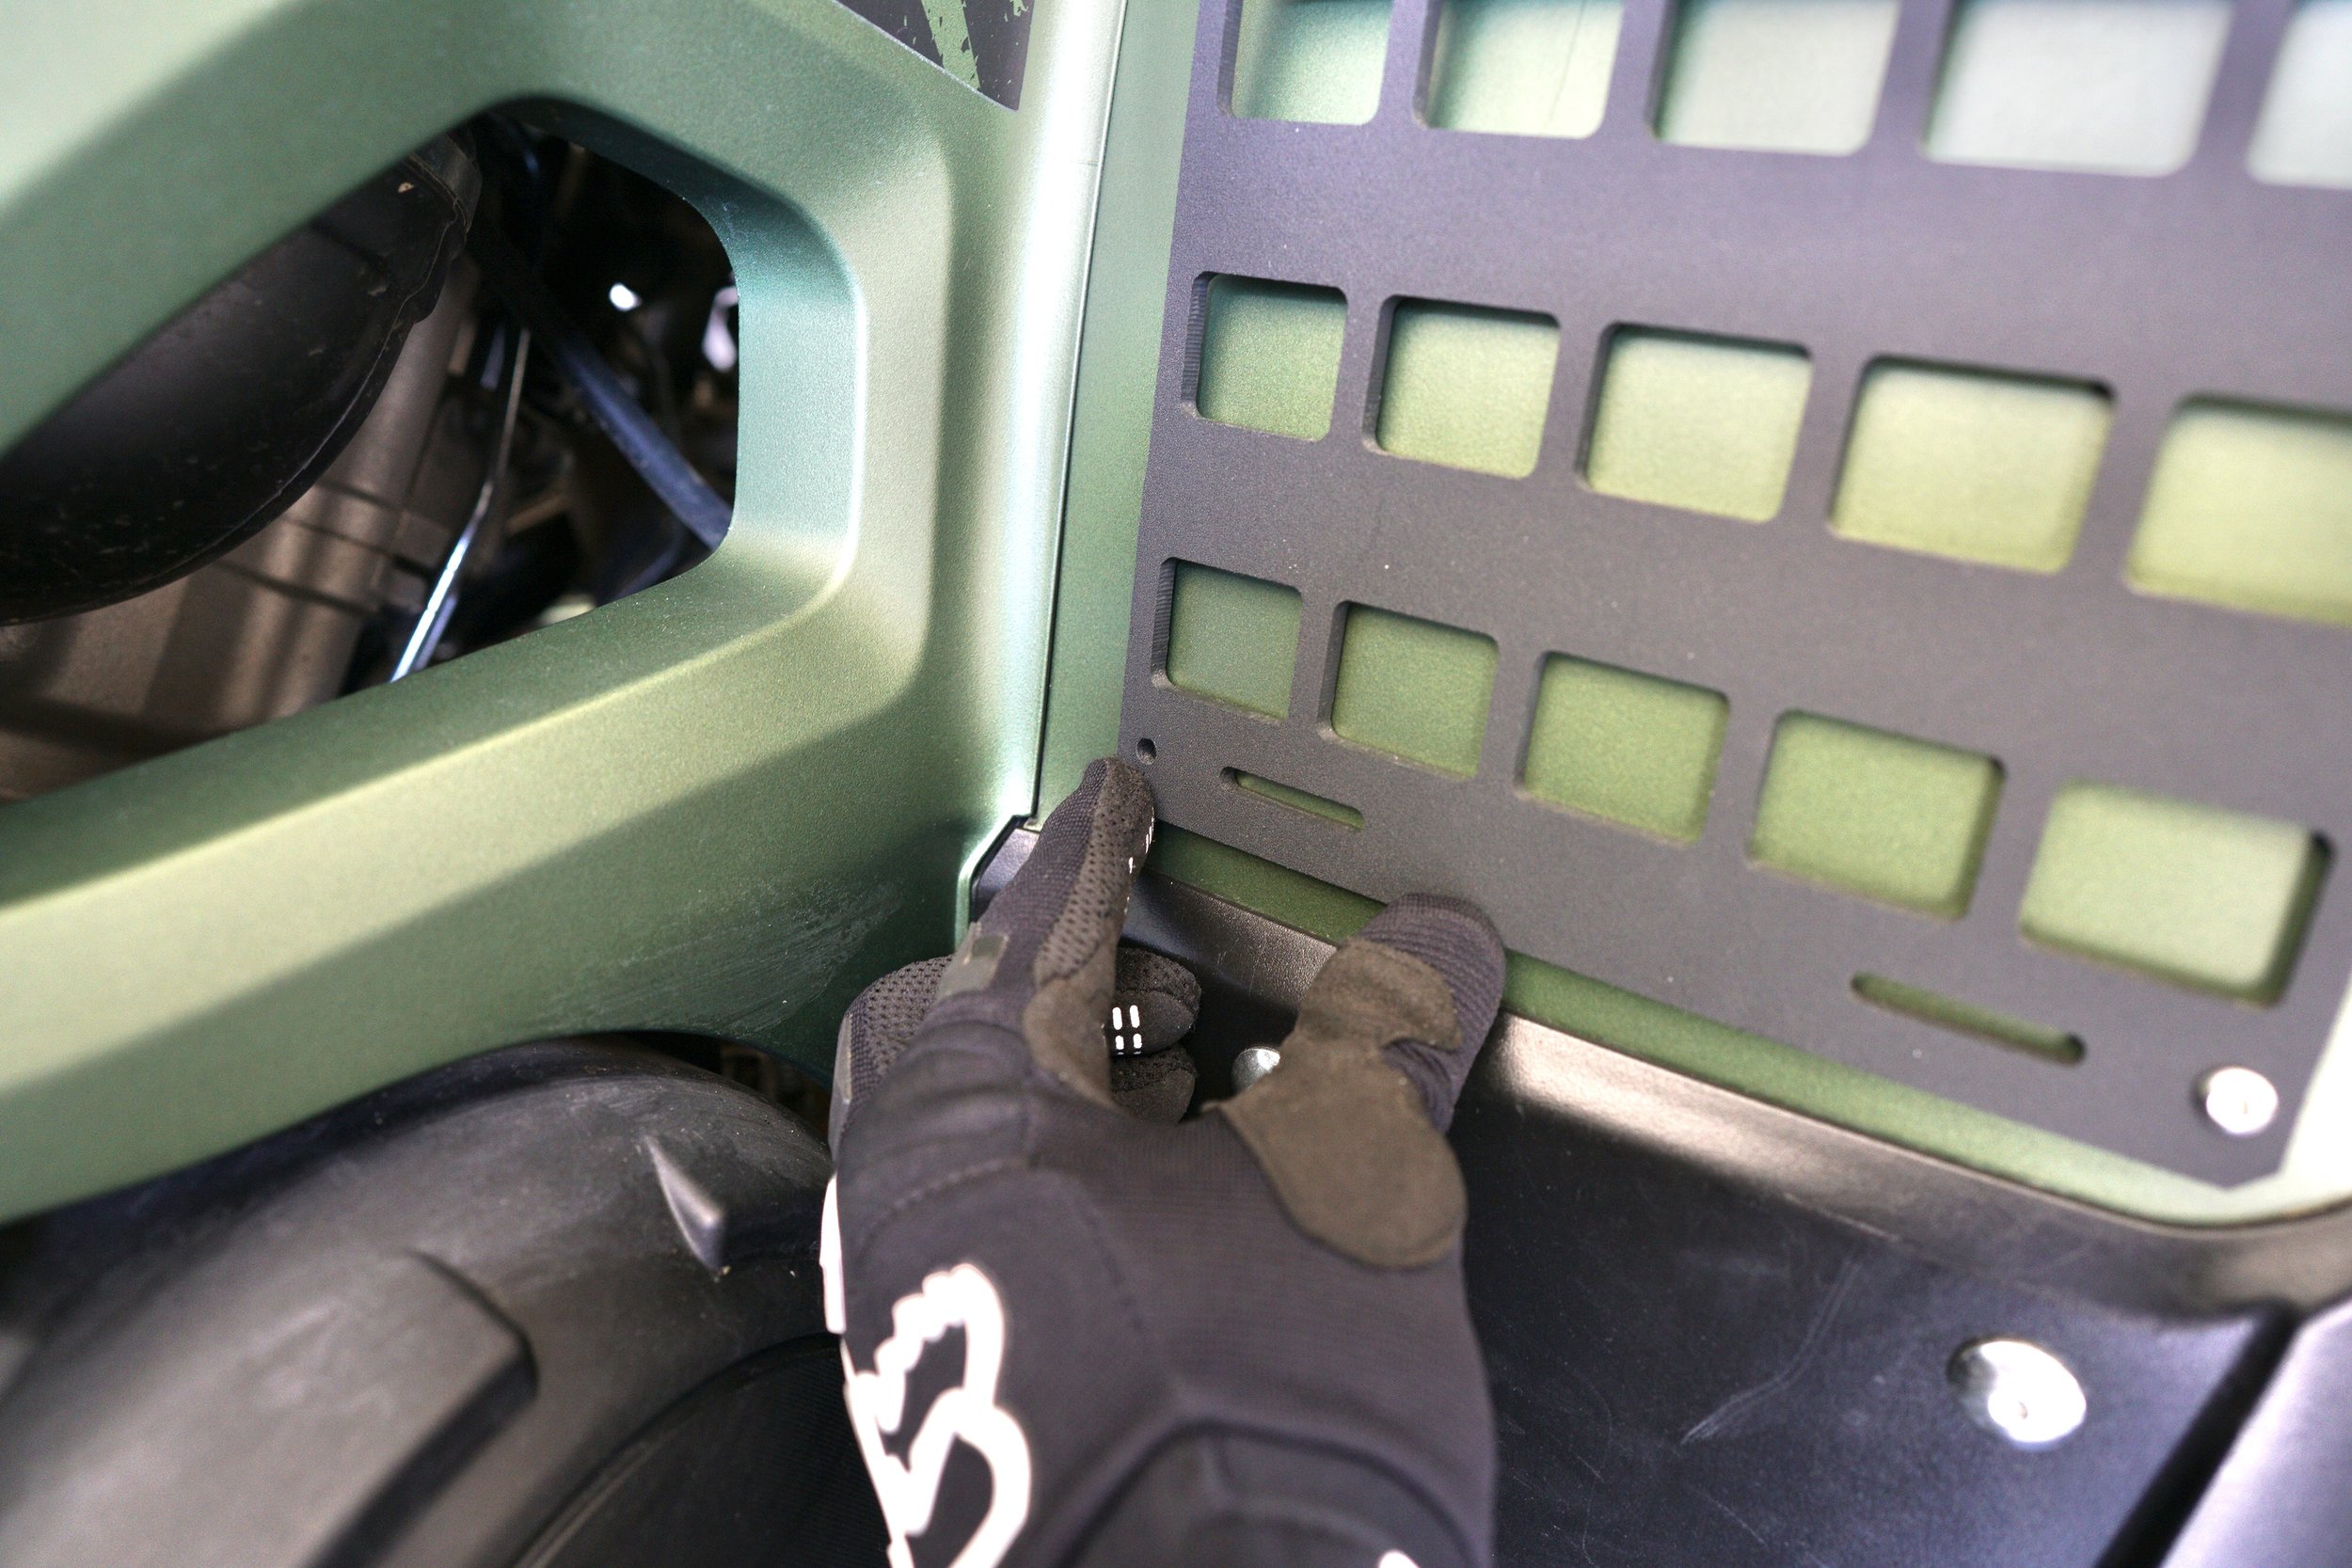
Next, prepare for and the drill the top holes. If you look closely you will see that the top holes are oblong, and are NOT perfect circles like the bottom holes. This is a design feature that allows the Modular FenderLink to properly adjust to the curvature of the fenders once it’s mounted with the spacers in place. DRILL THE TOP HOLES WITH THE DRILL BIT PLACED AT THE BOTTOM OR LOWER SECTION OF THE HOLE. See the picture below for the correct drilling location, relative to the mount. Go ahead and drill the top right hole, followed by the remaining top hole(s). At this point, it’s not necessary to further secure the FenderLink with additional mounting screws as you go.
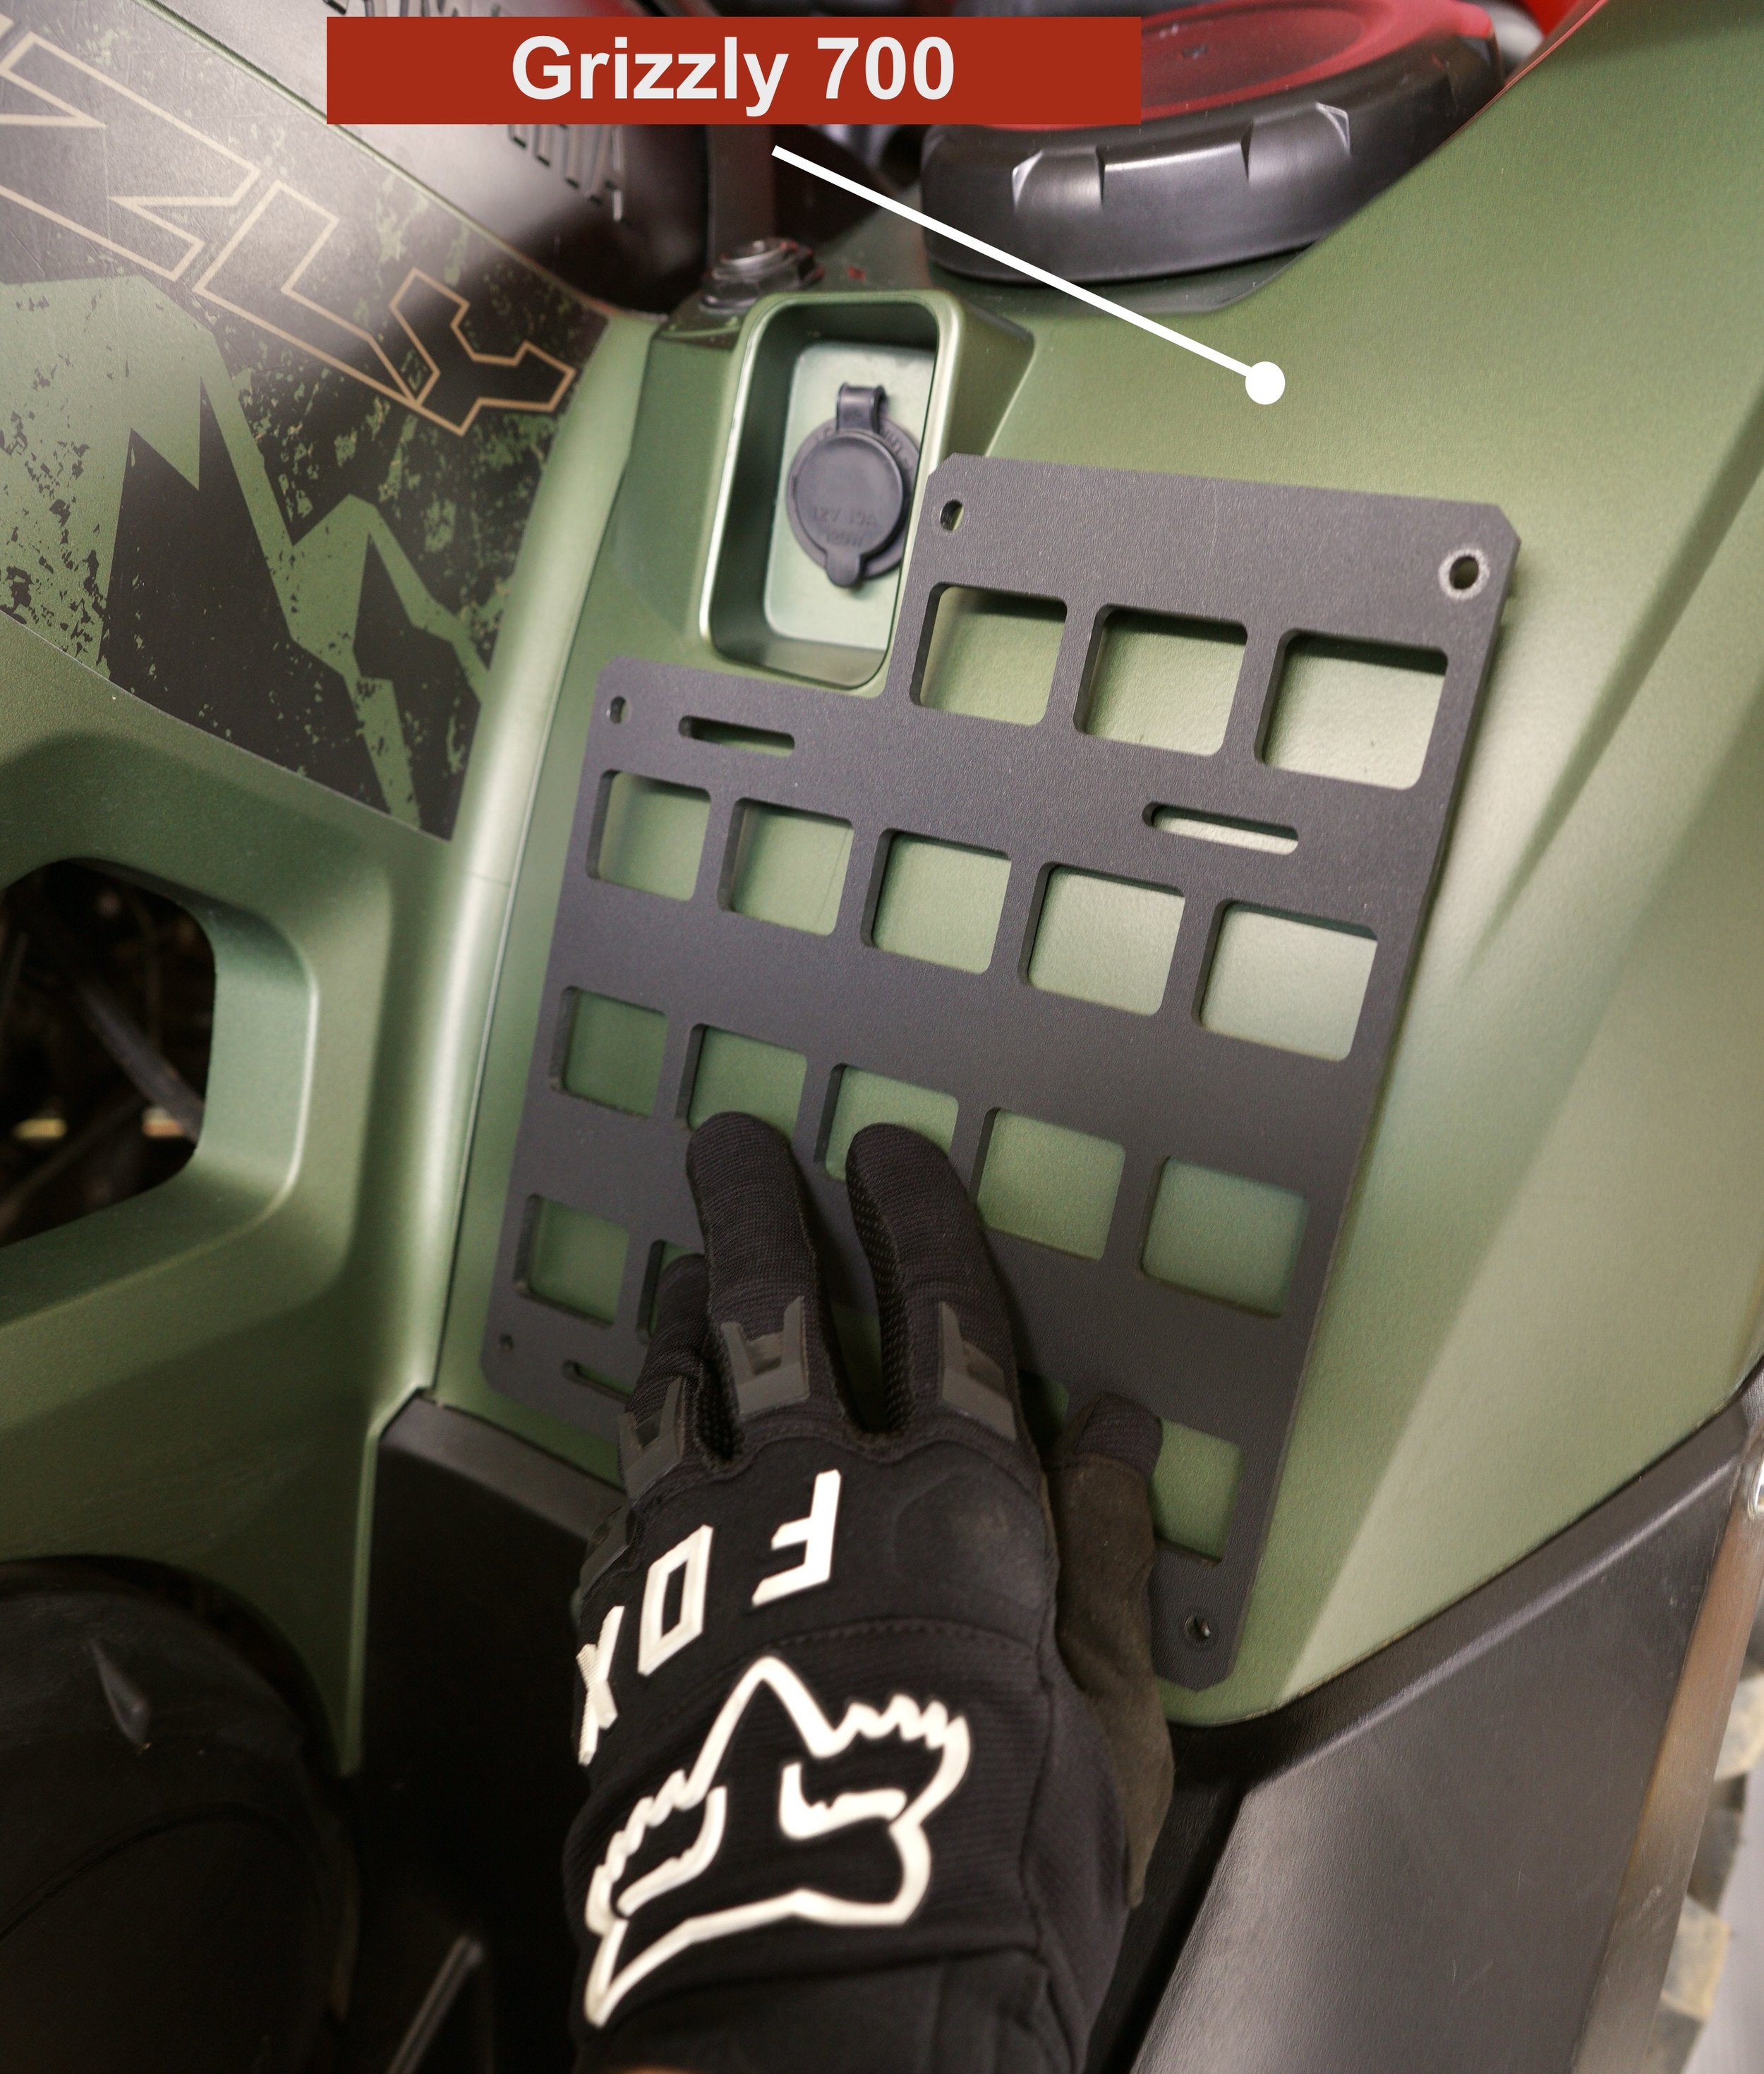
IMPORTANT: When drilling the top center hole on a Yamaha Grizzly 700, take care not to drill into your built-in storage container that sits behind the right fender.
Remove the Modular FenderLink from its temporary placement on the fender and move to the next step.
Step 9
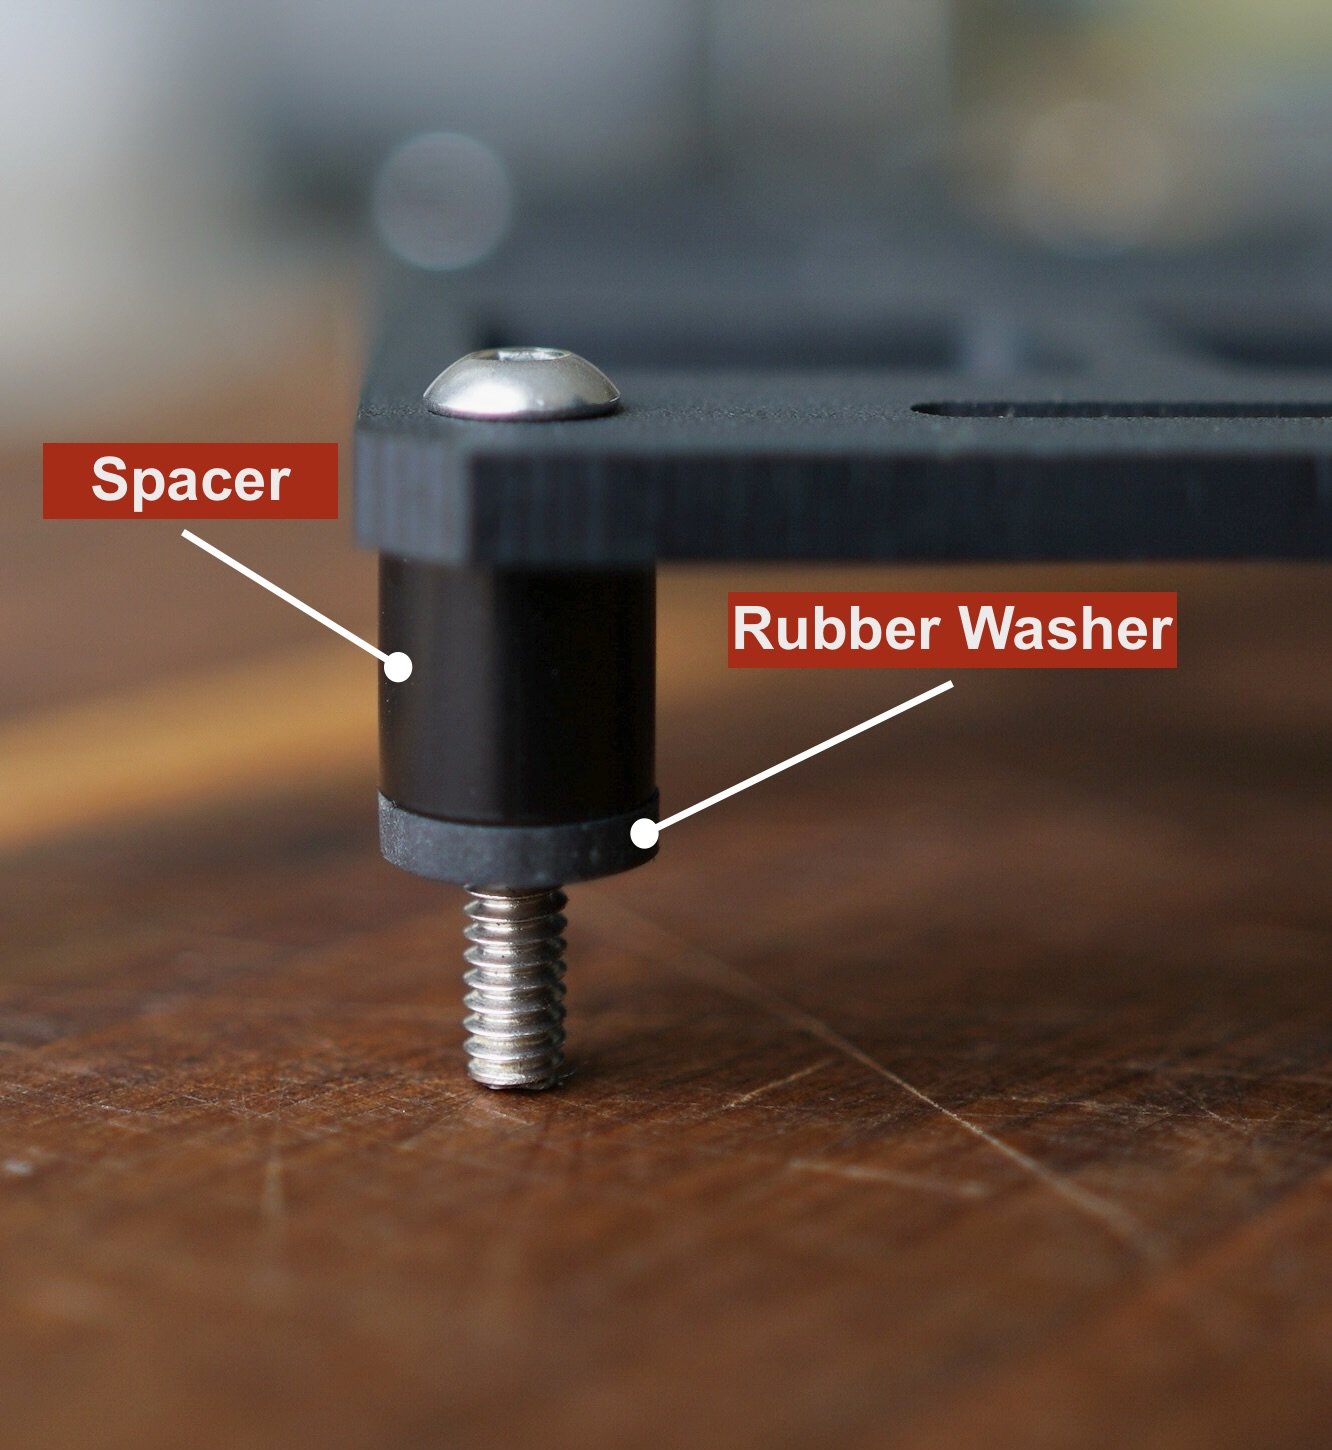
Take the mounting hardware and assemble it onto the Modular FenderLink as shown in the pictures below. BE SURE TO ASSEMBLE IT EXACTLY AS SHOWN AND DON’T SKIP THE RUBBER WASHER. The rubber washer serves three purposes: 1) it protects your plastics from any marring or scuffing, 2) it provides axial stability to the Modular FenderLink after it is installed and being used under load, and 3) it makes installation SUPER easy by retaining all of the hardware in place.
STEP 10
Carefully place the Modular FenderLink up to the fender and insert the mounting screws into the holes you drilled in the fender. Using a 3/8” wrench, secure the Modular FenderLink in place with the included stainless steel nuts and washers.
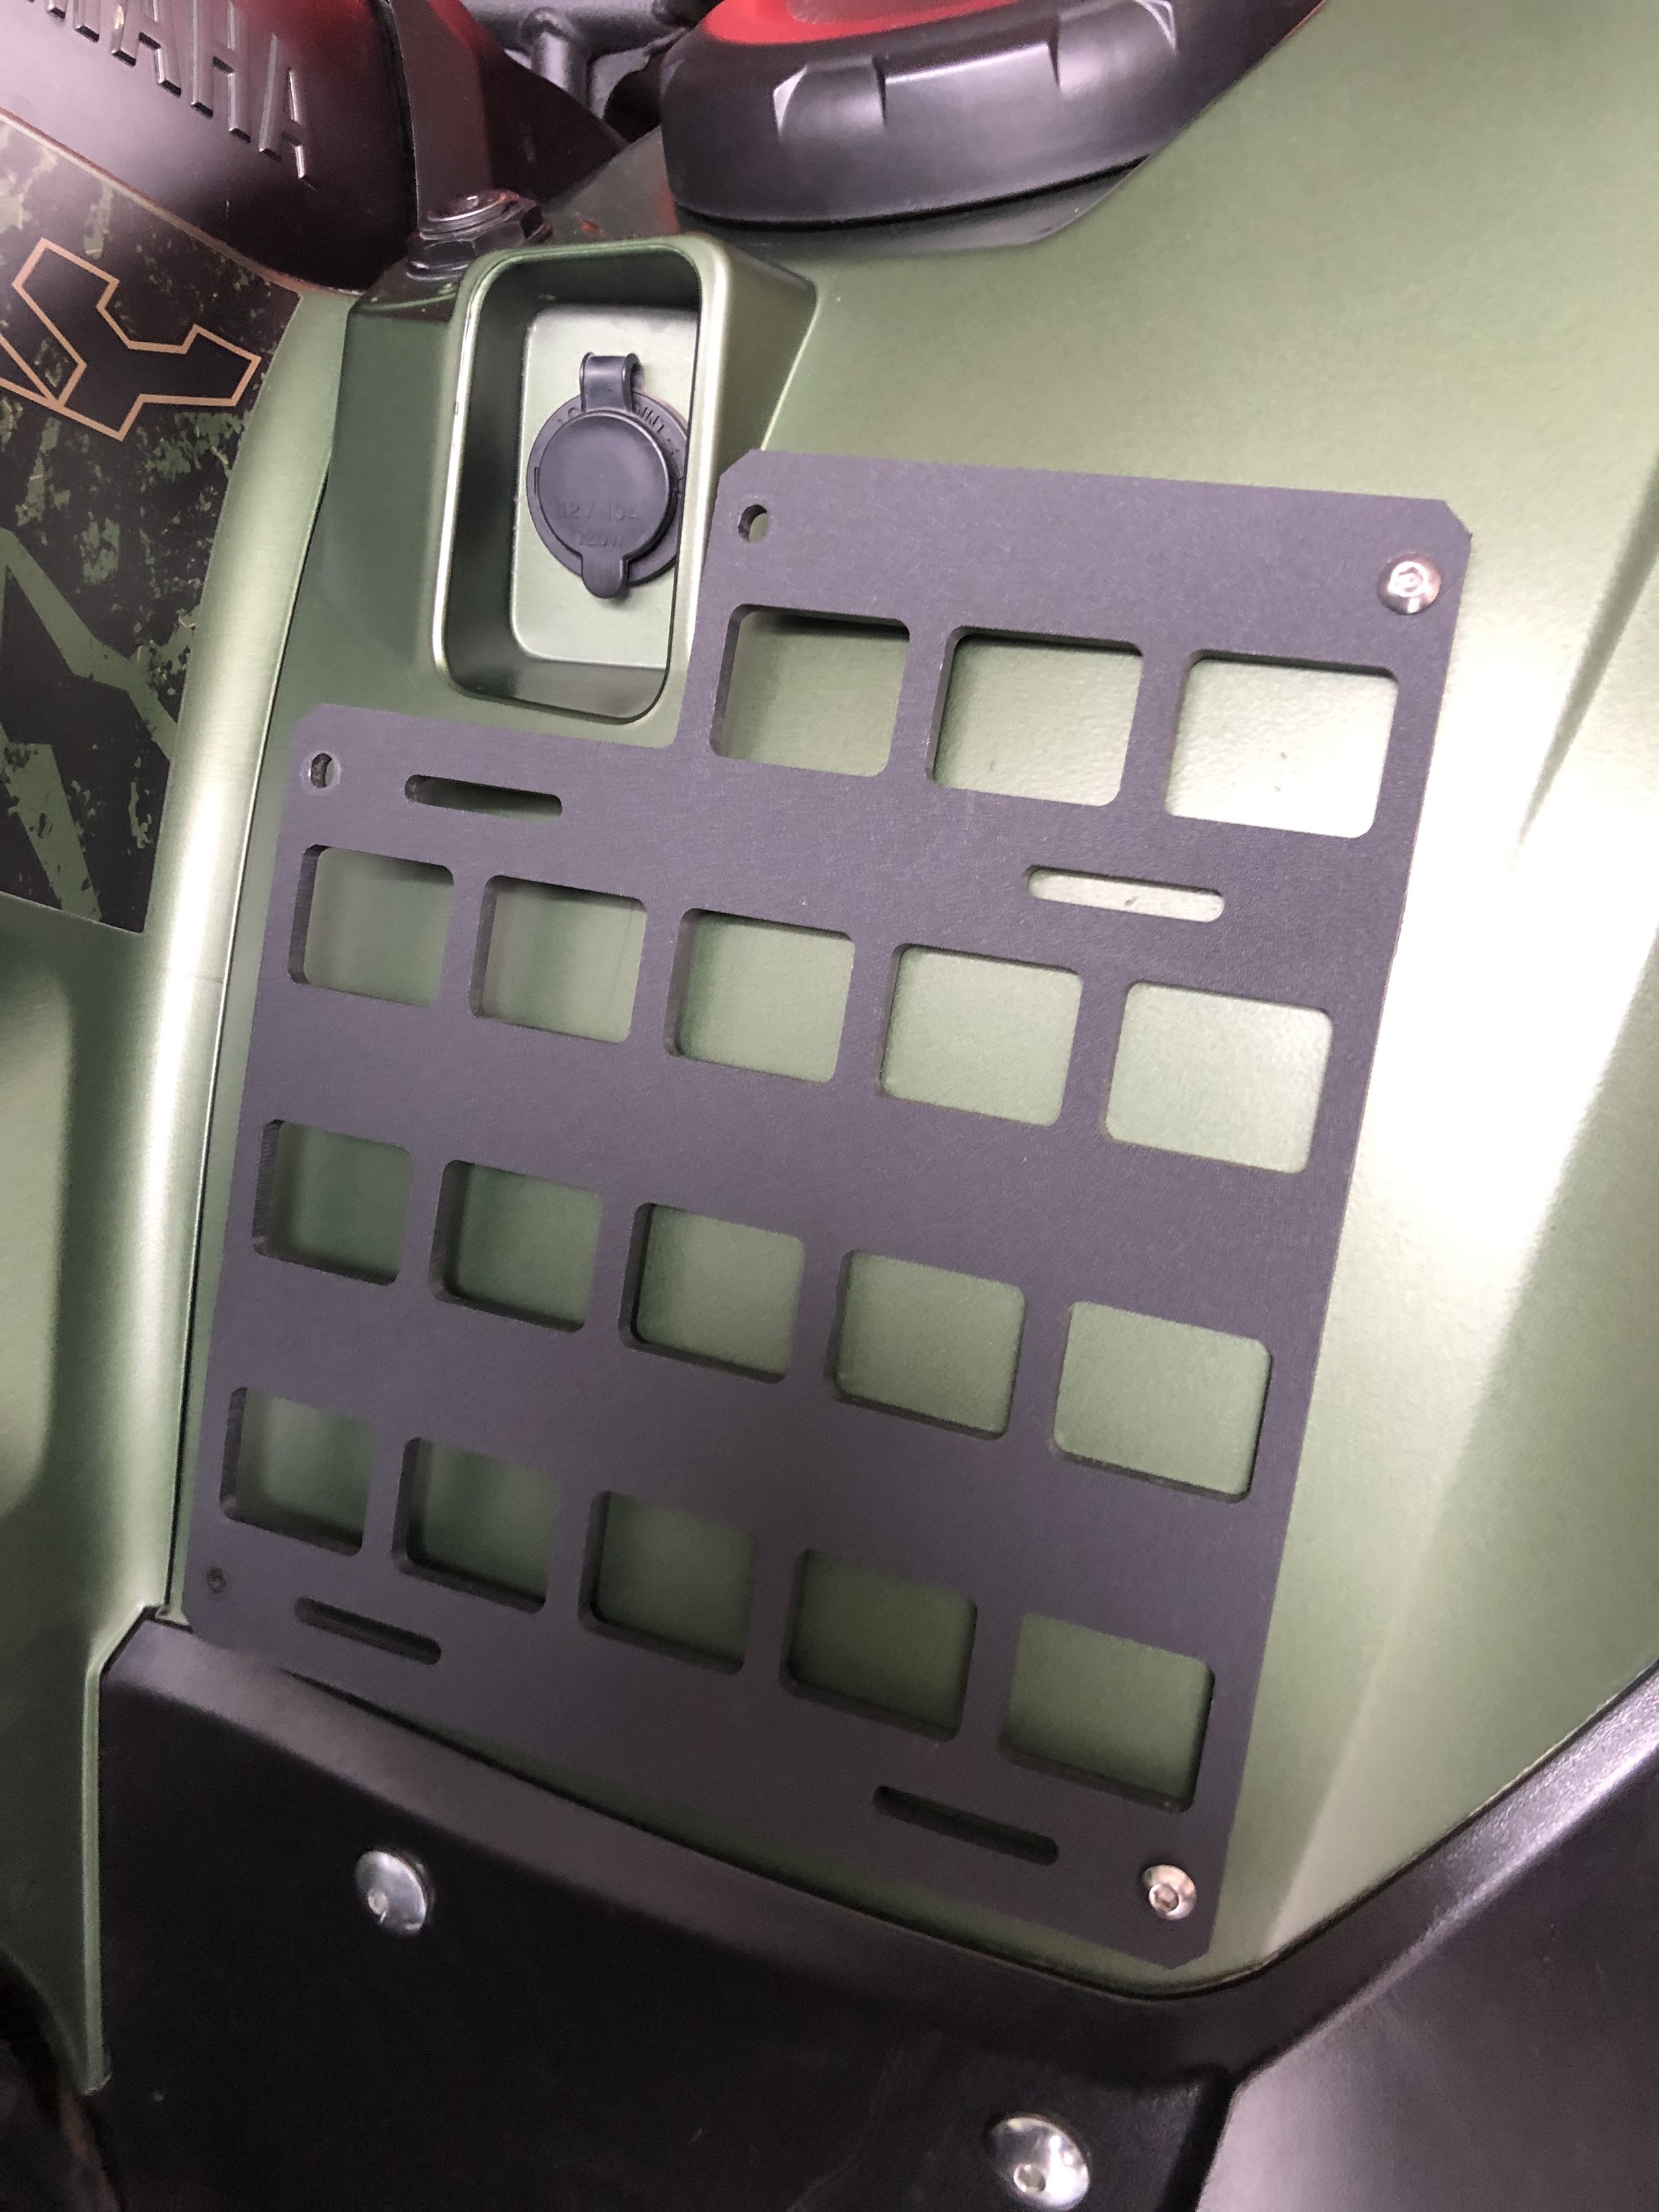
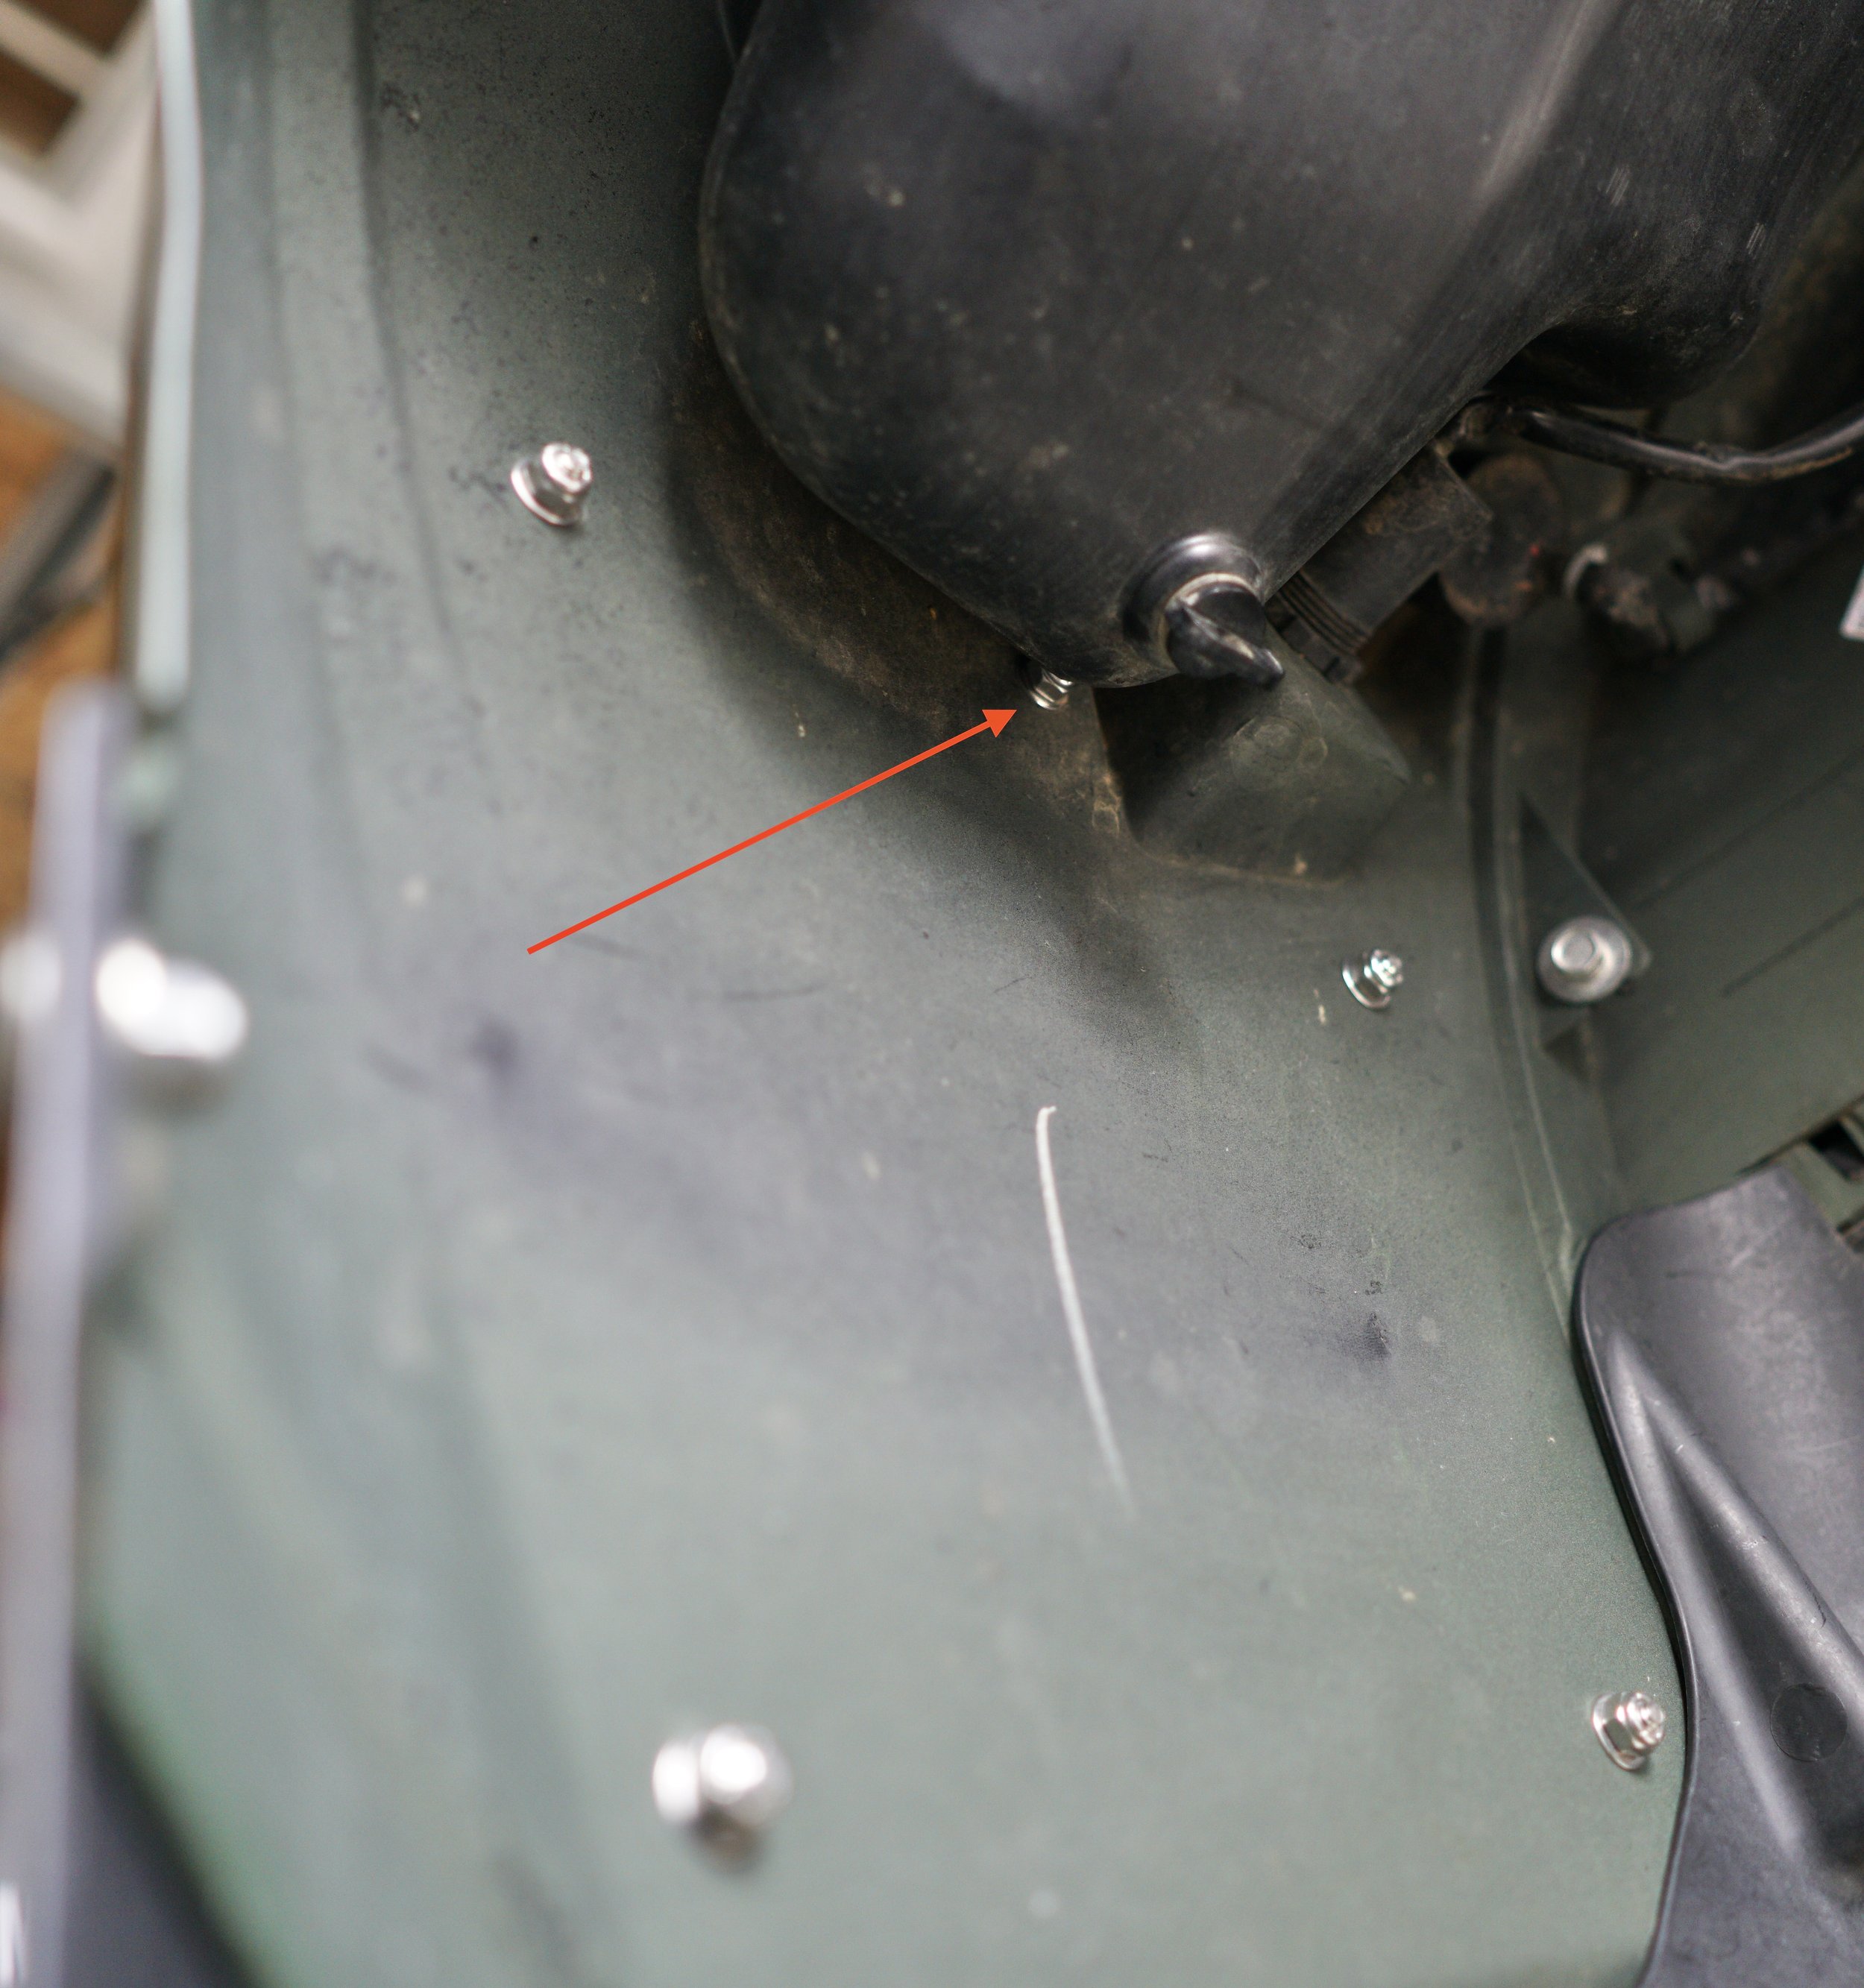
Tip for Grizzly 700: If you are installing your mount on the right fender of a Yamaha Grizzly, you will need to temporarily remove the storage container built into the fender to create room for installing the washer and nut on the top center mounting screw (shown by red arrow in photo below. This is a straightforward process, but consult your manual if needed. If you’re the patient type, it IS possible to work the washer and nut onto the screw without removing the storage container (Be warned, however; doing so may cause you to curse like a sailor!).
STEP 11
Welcome to the world of Modular FenderLinks! The sky is the limit. There are endless options for MOLLE based storage. Get creative and customize to your heart’s content!
STEP 12
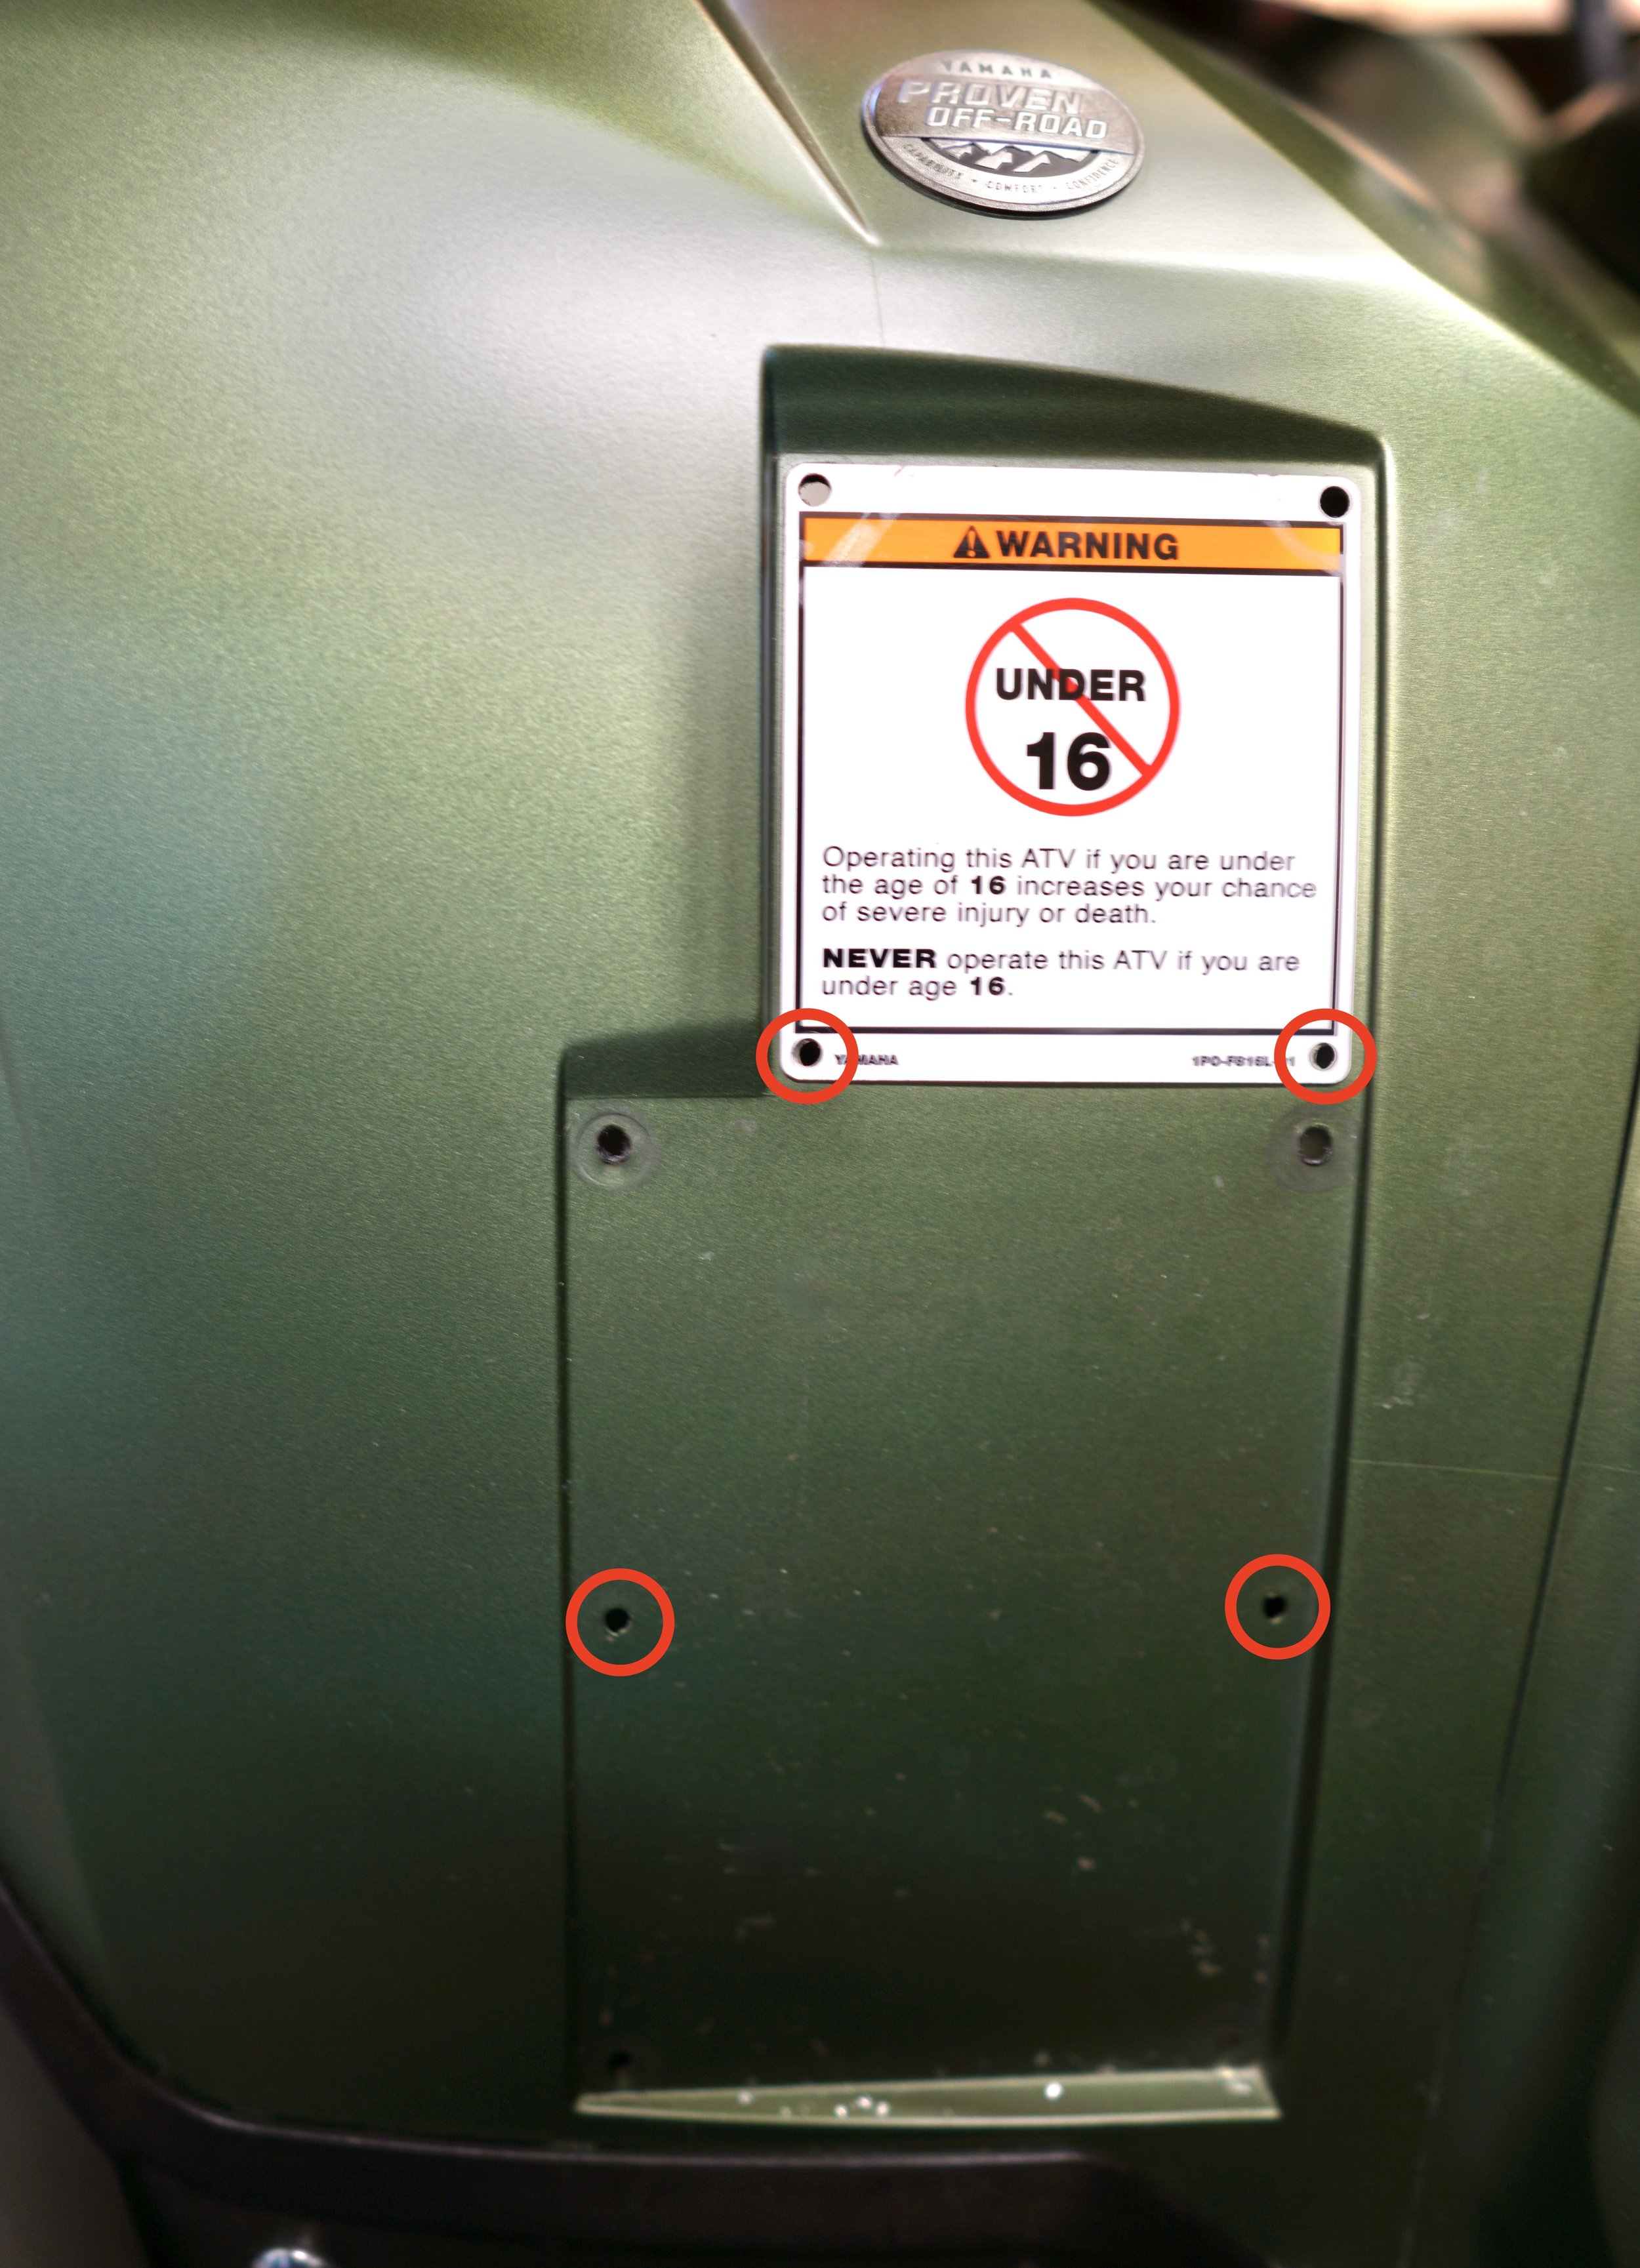
If you skipped to this step, you’re installing your Modular FenderLink onto a fender using pre-existing rivet holes (such as those found on ATVs from Yamaha, Honda, and Suzuki).
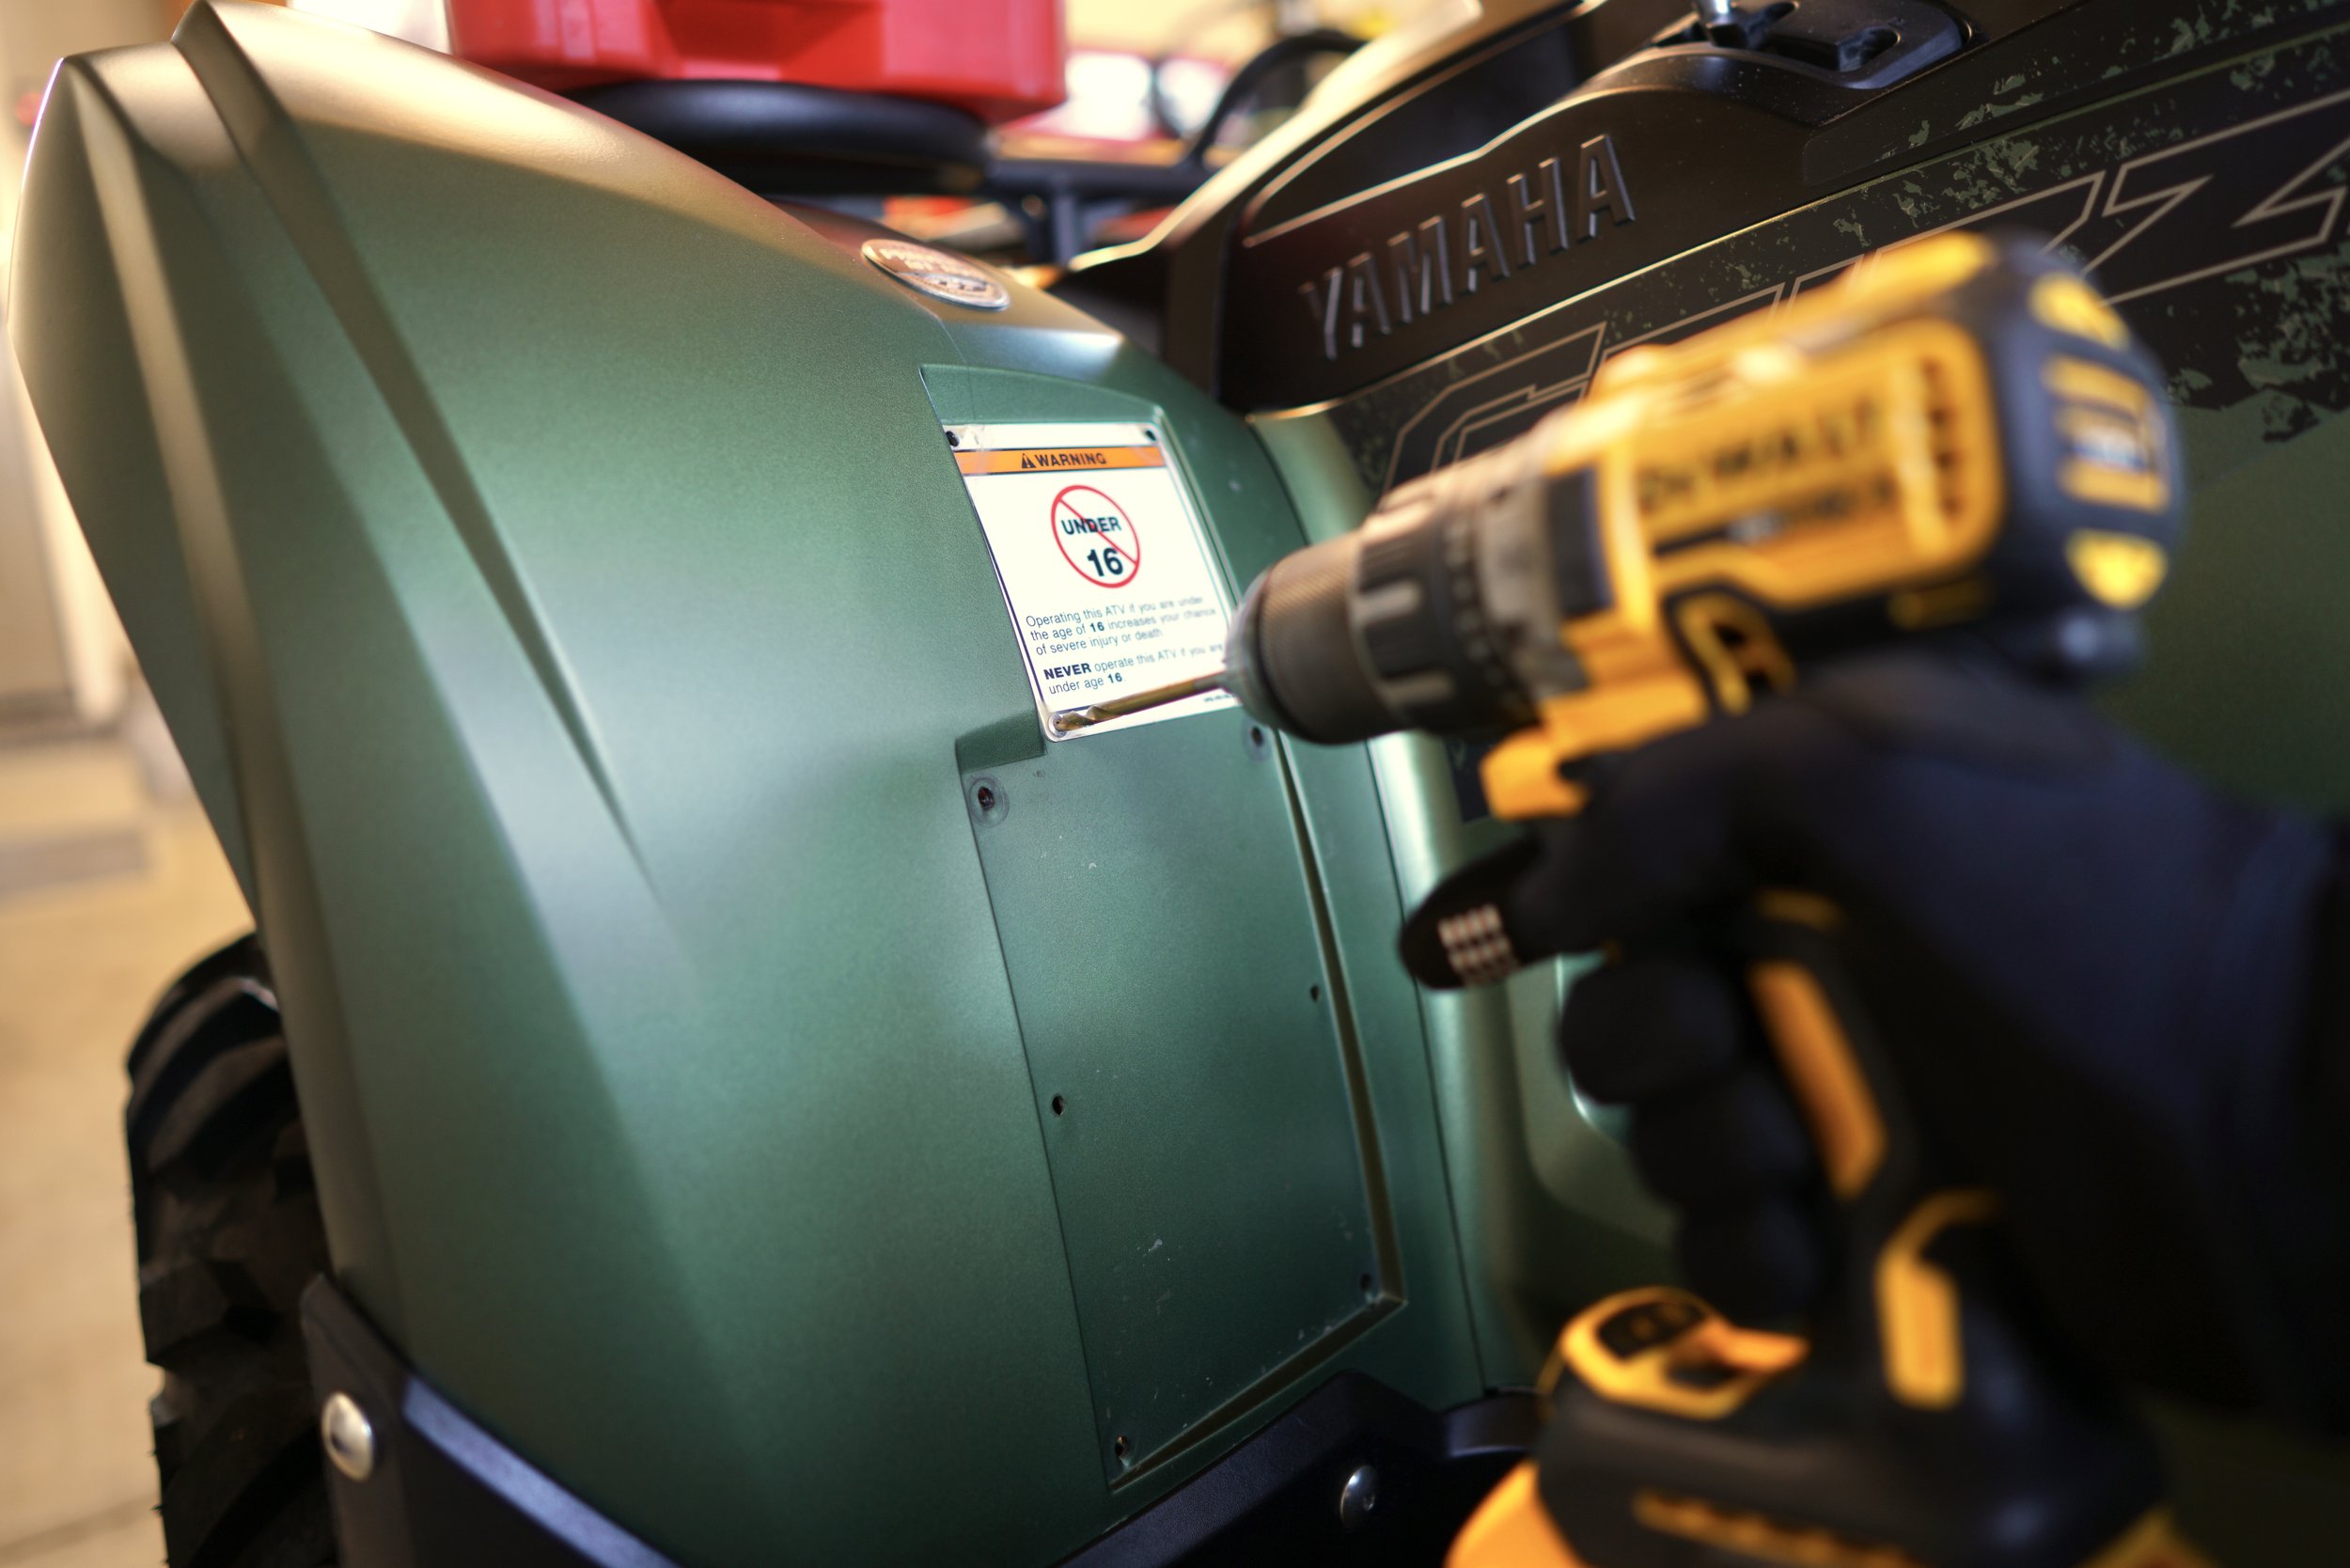
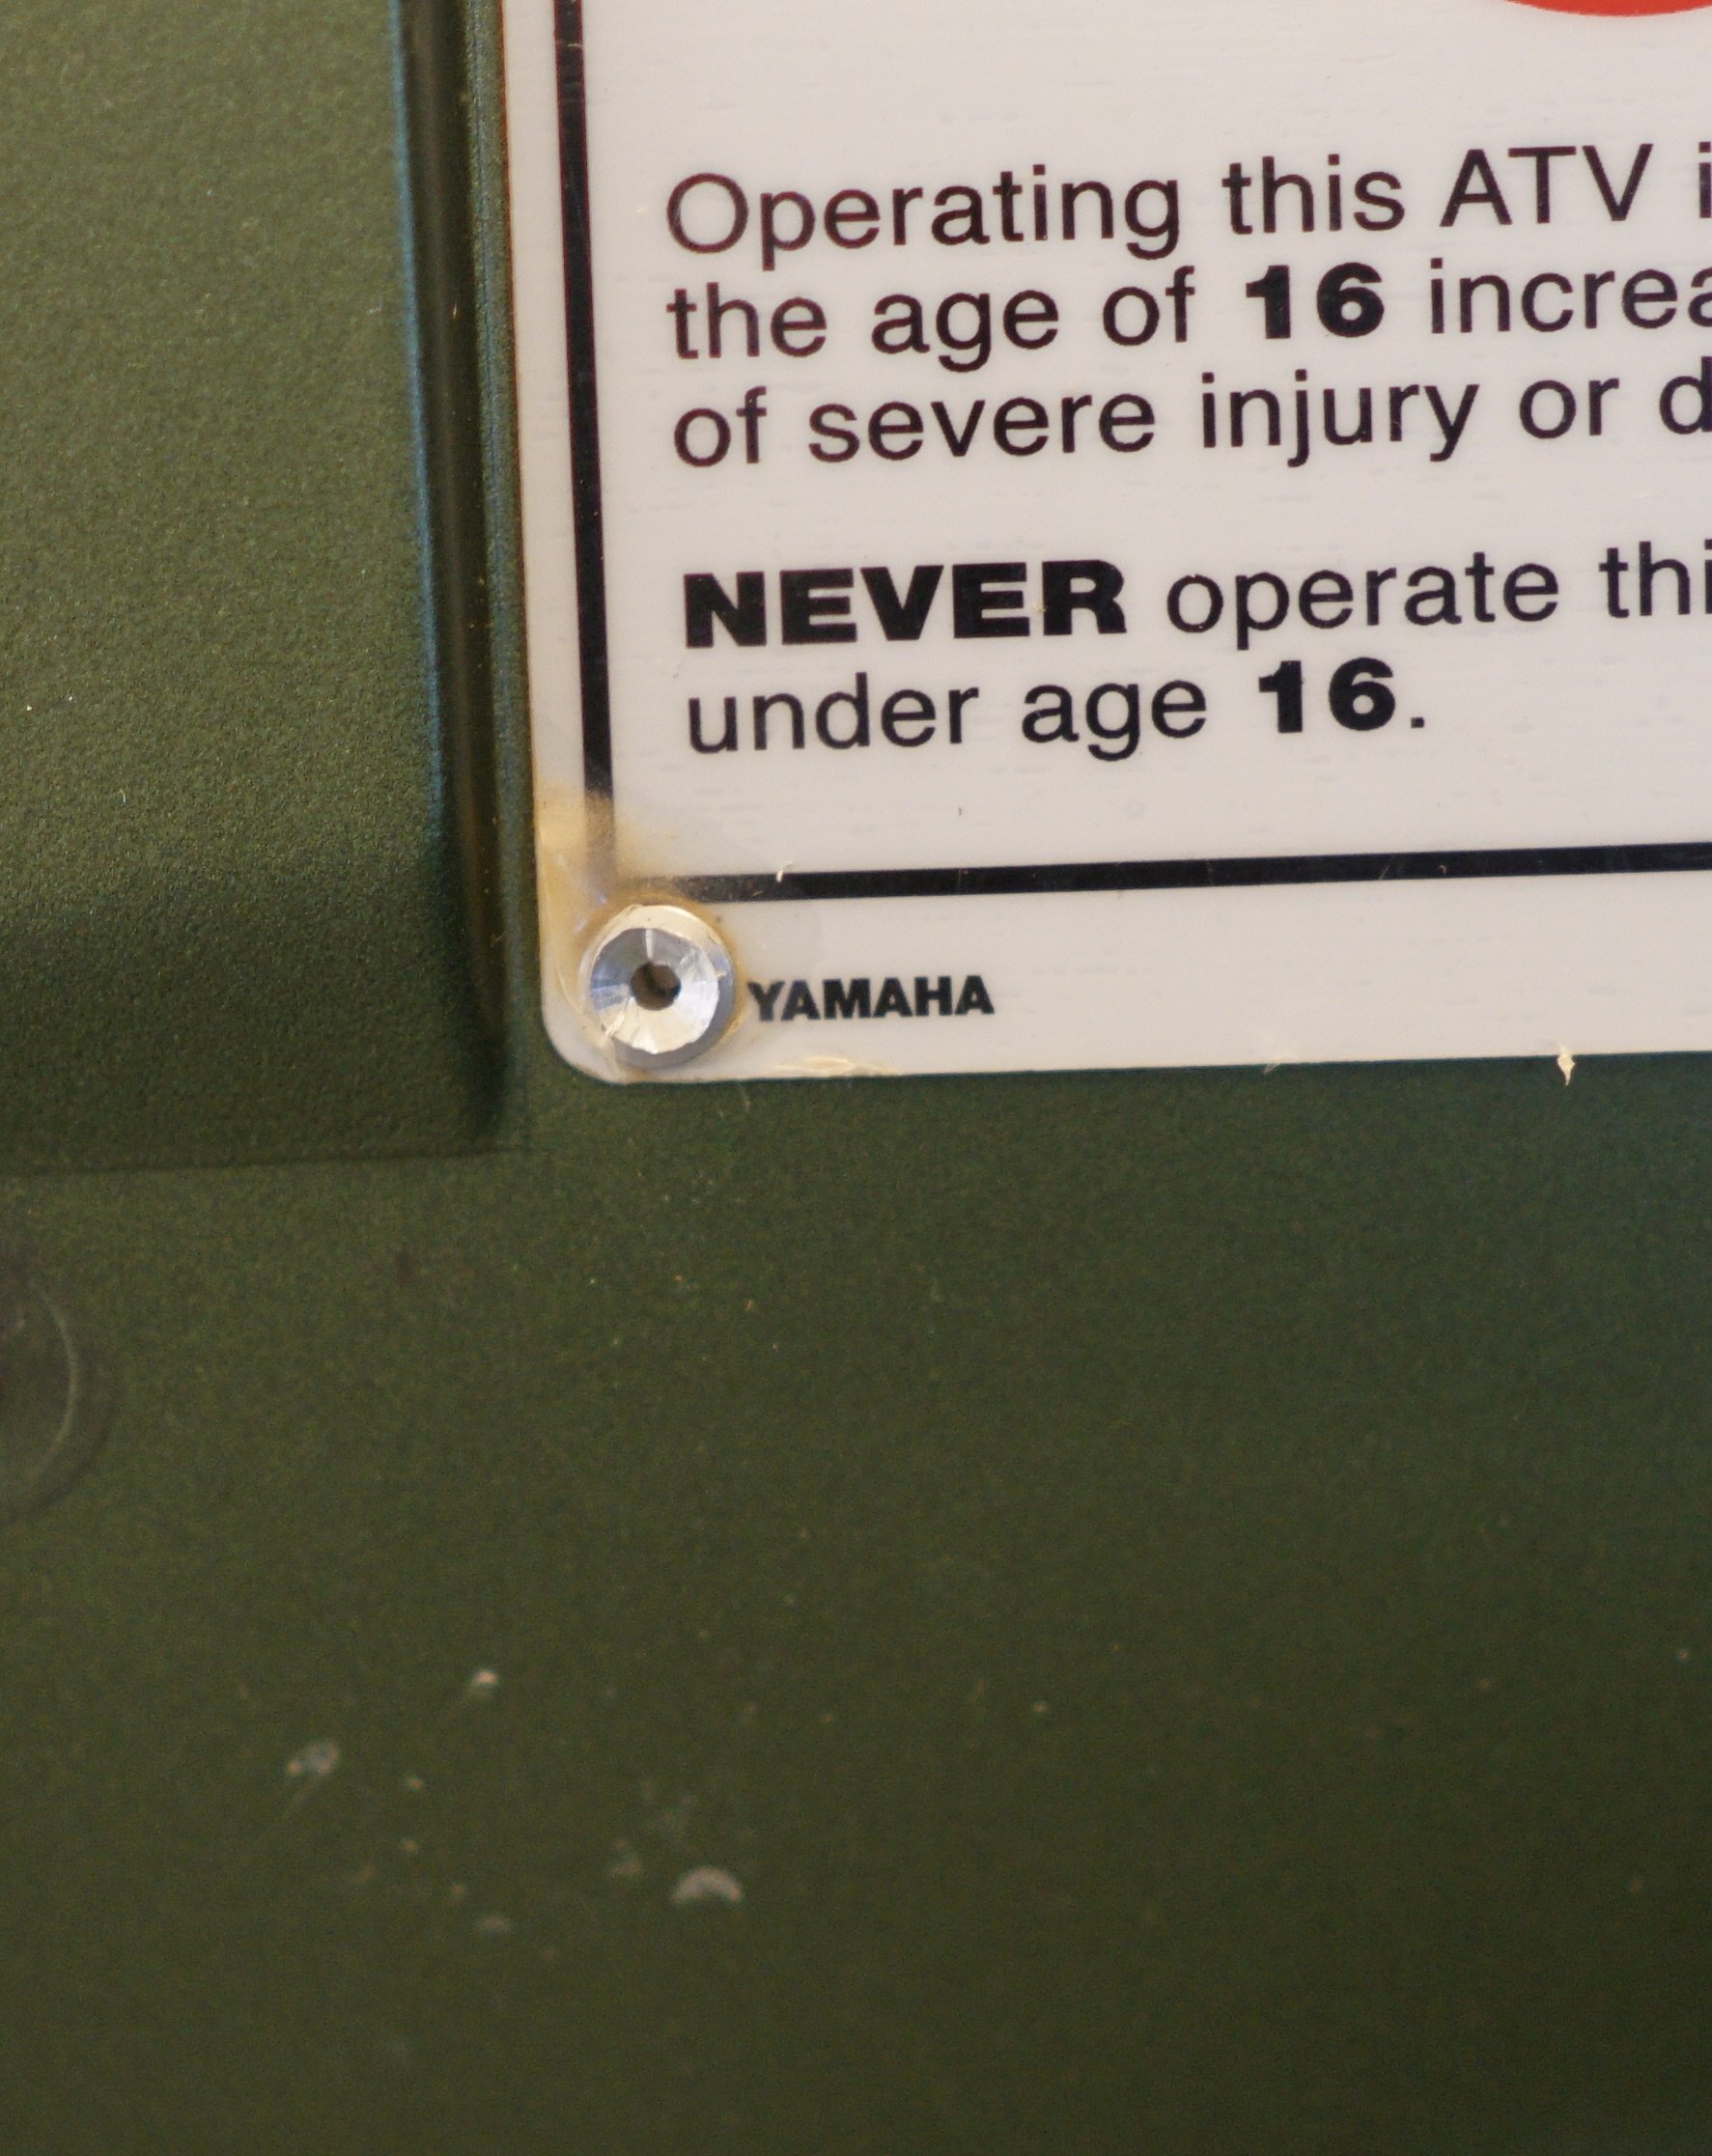
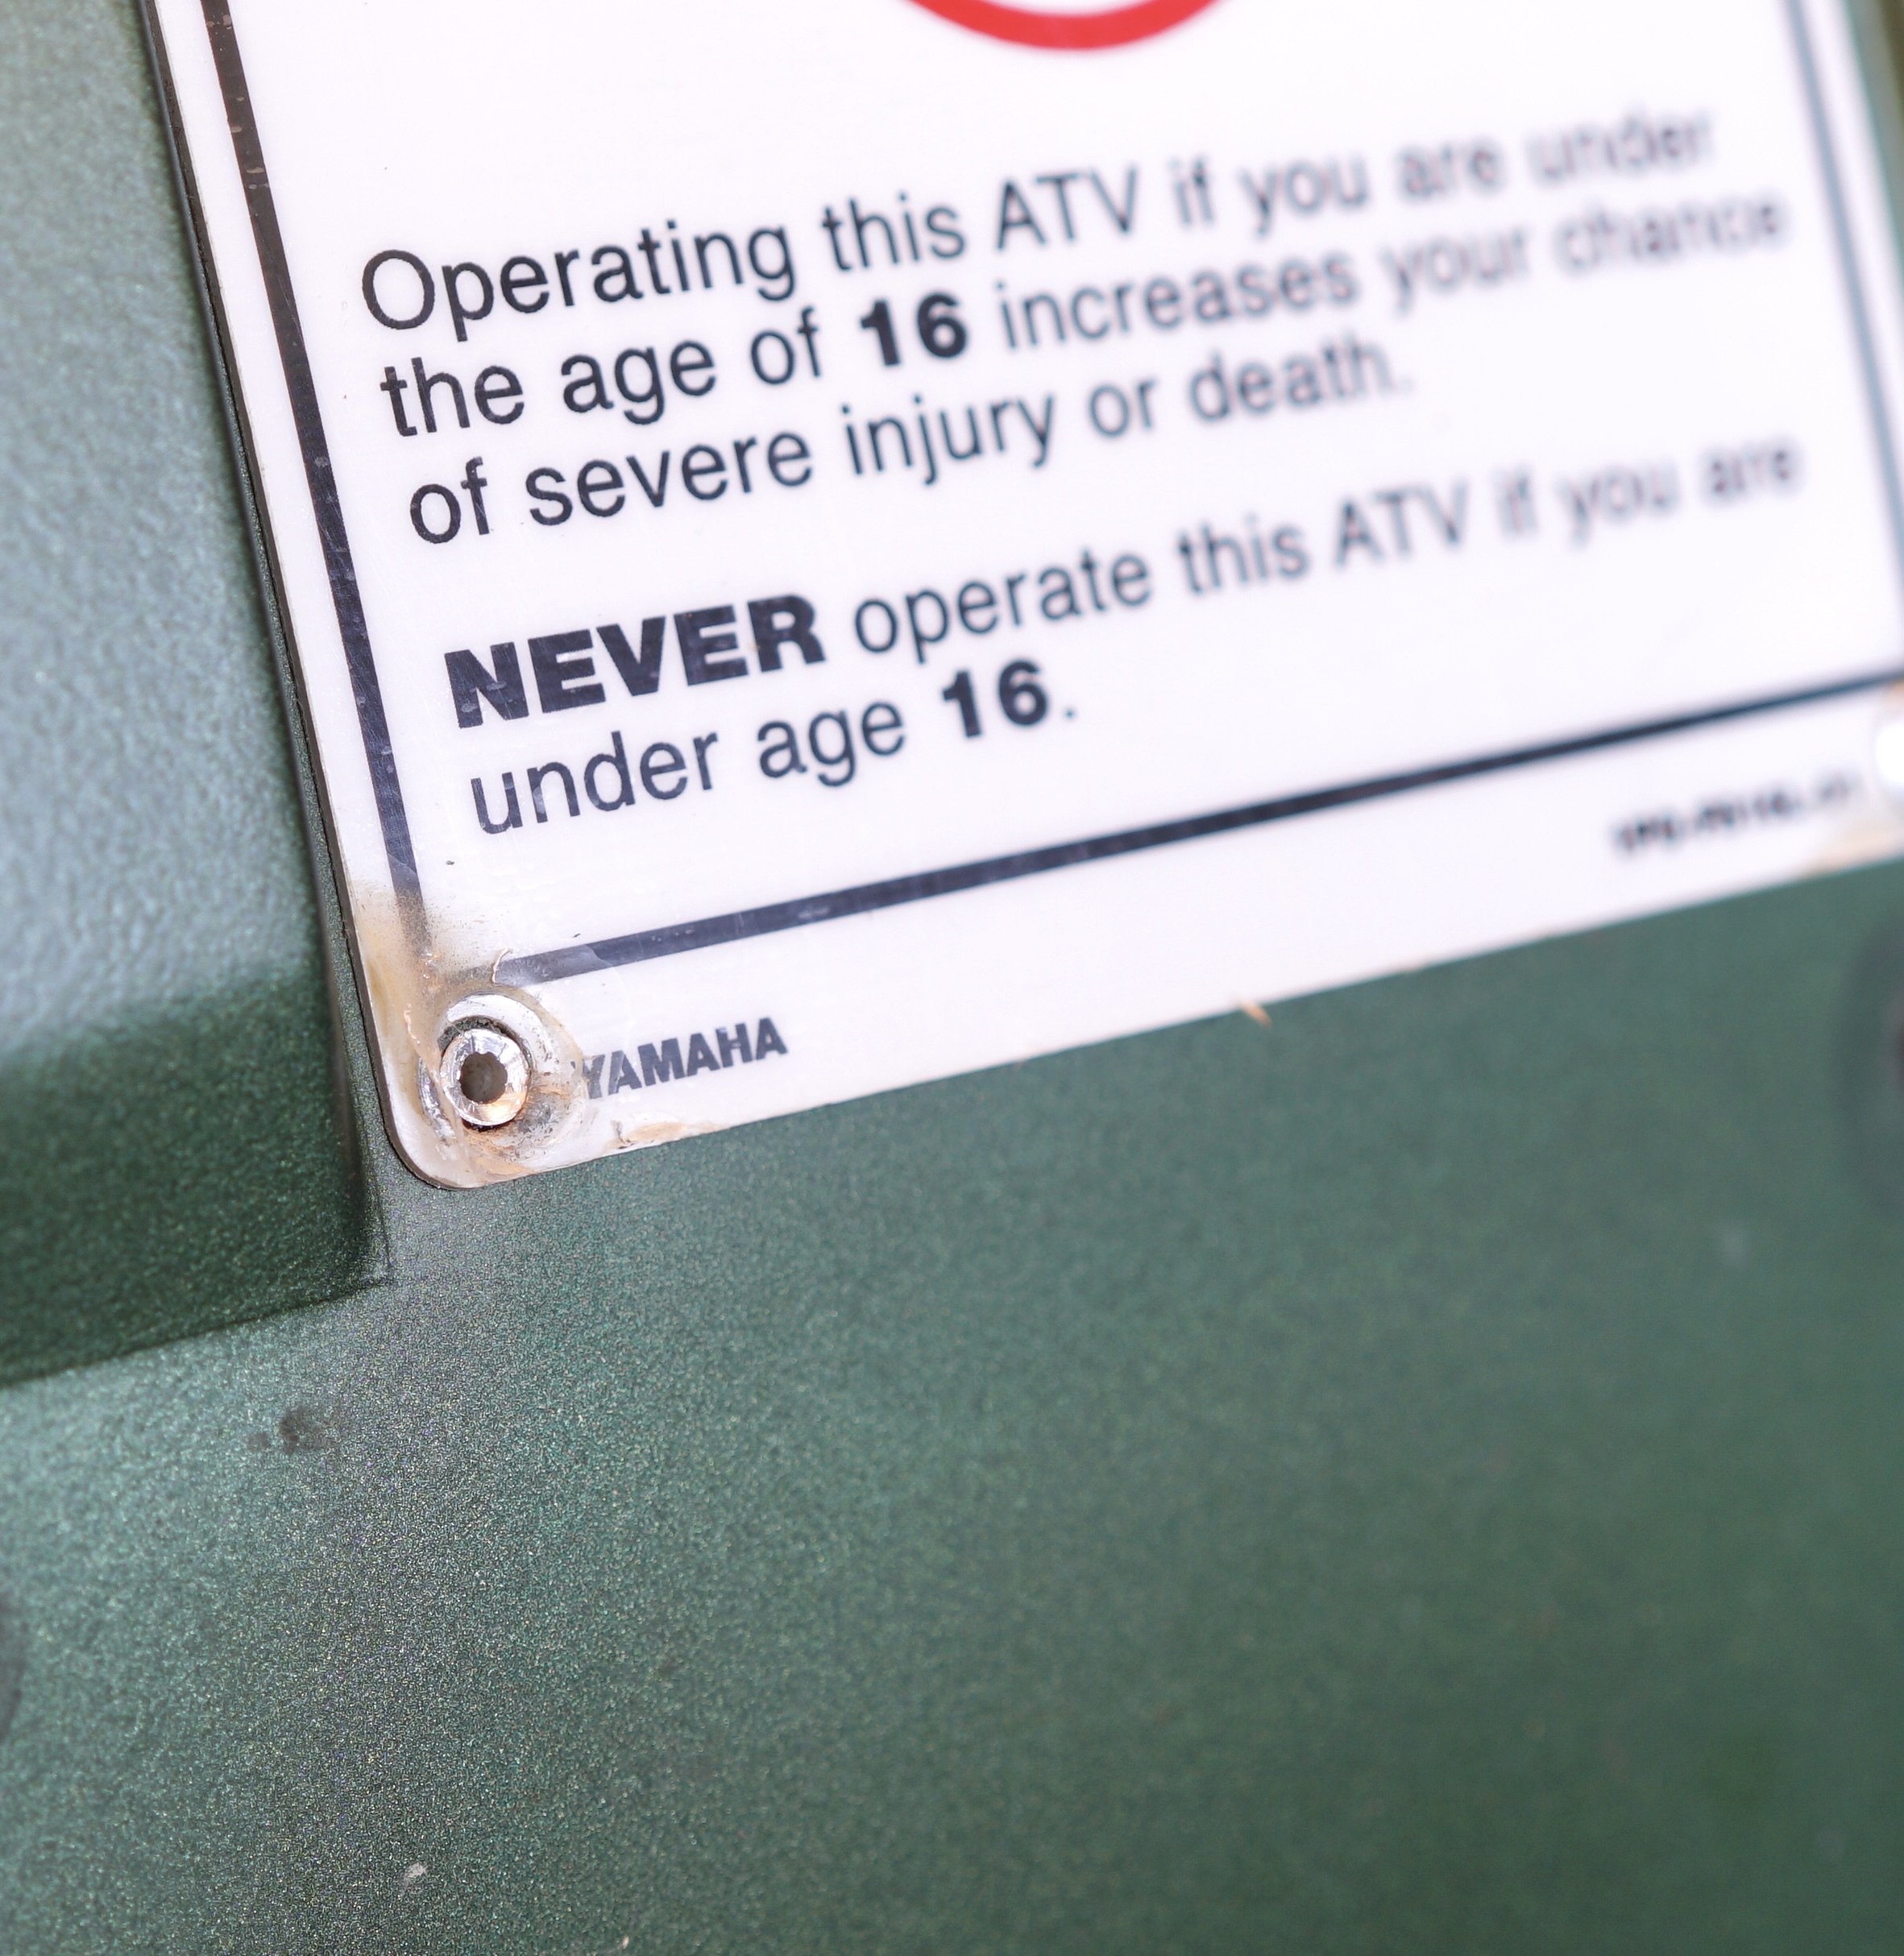
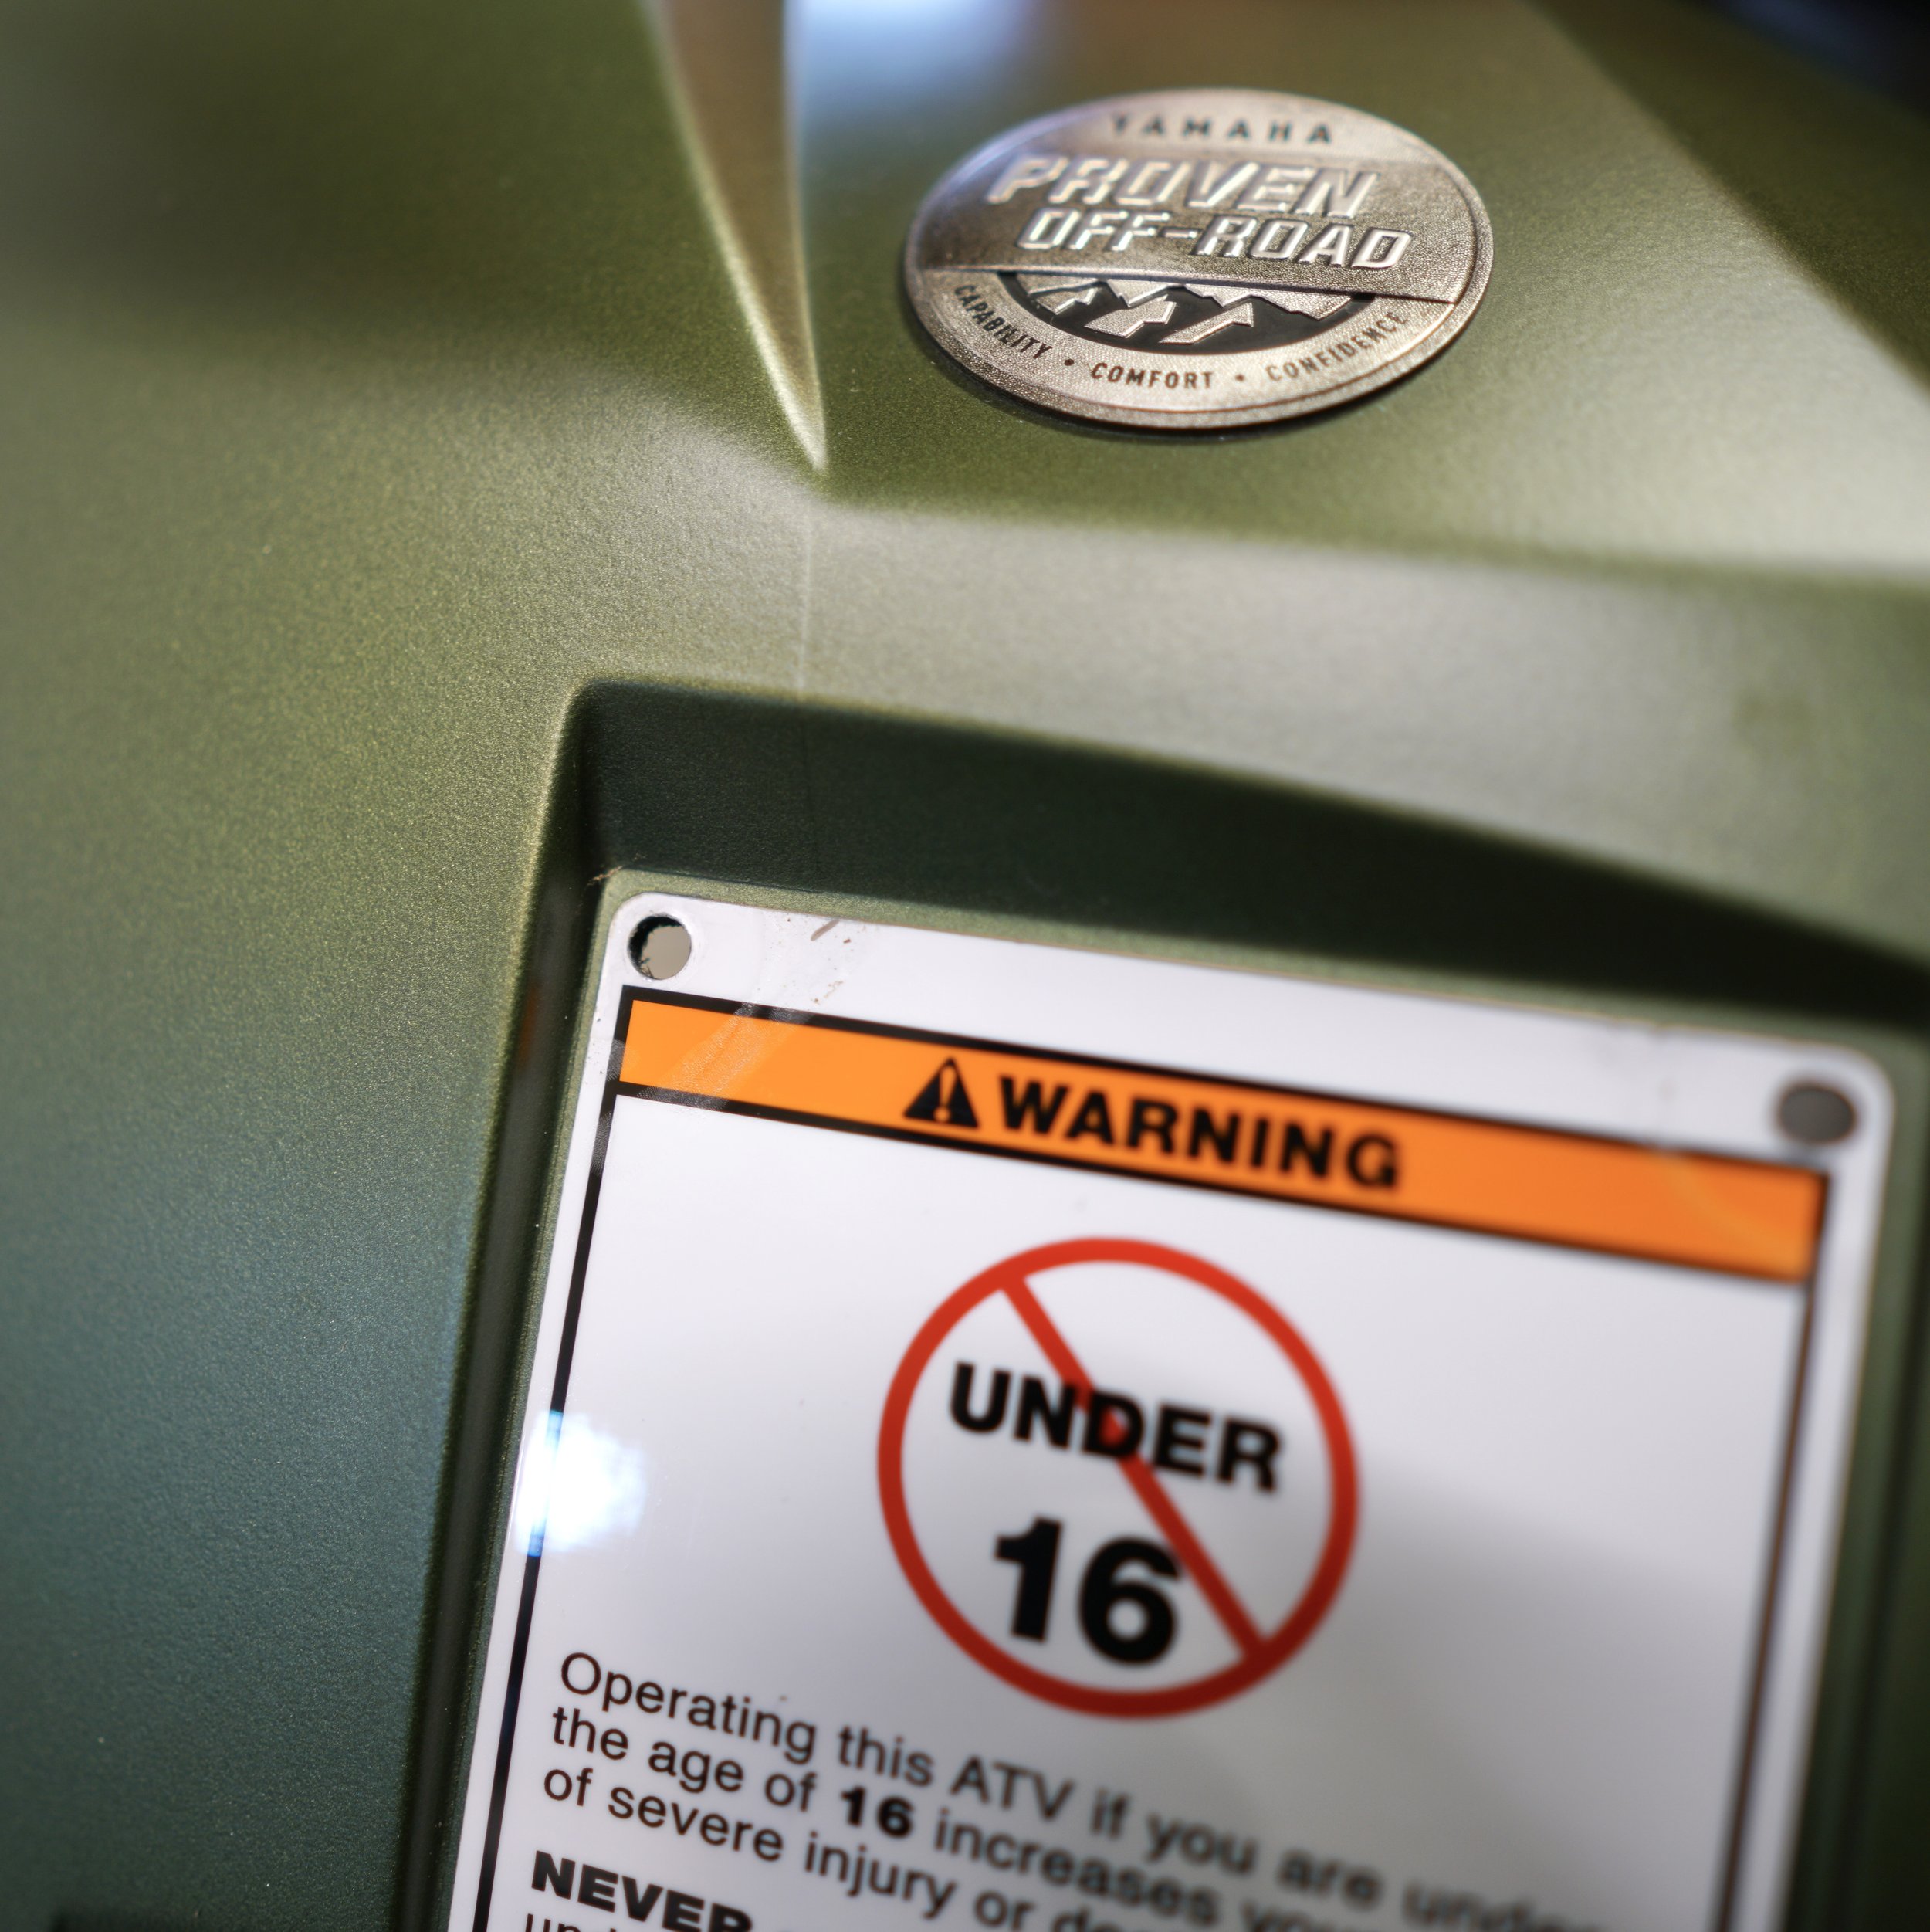
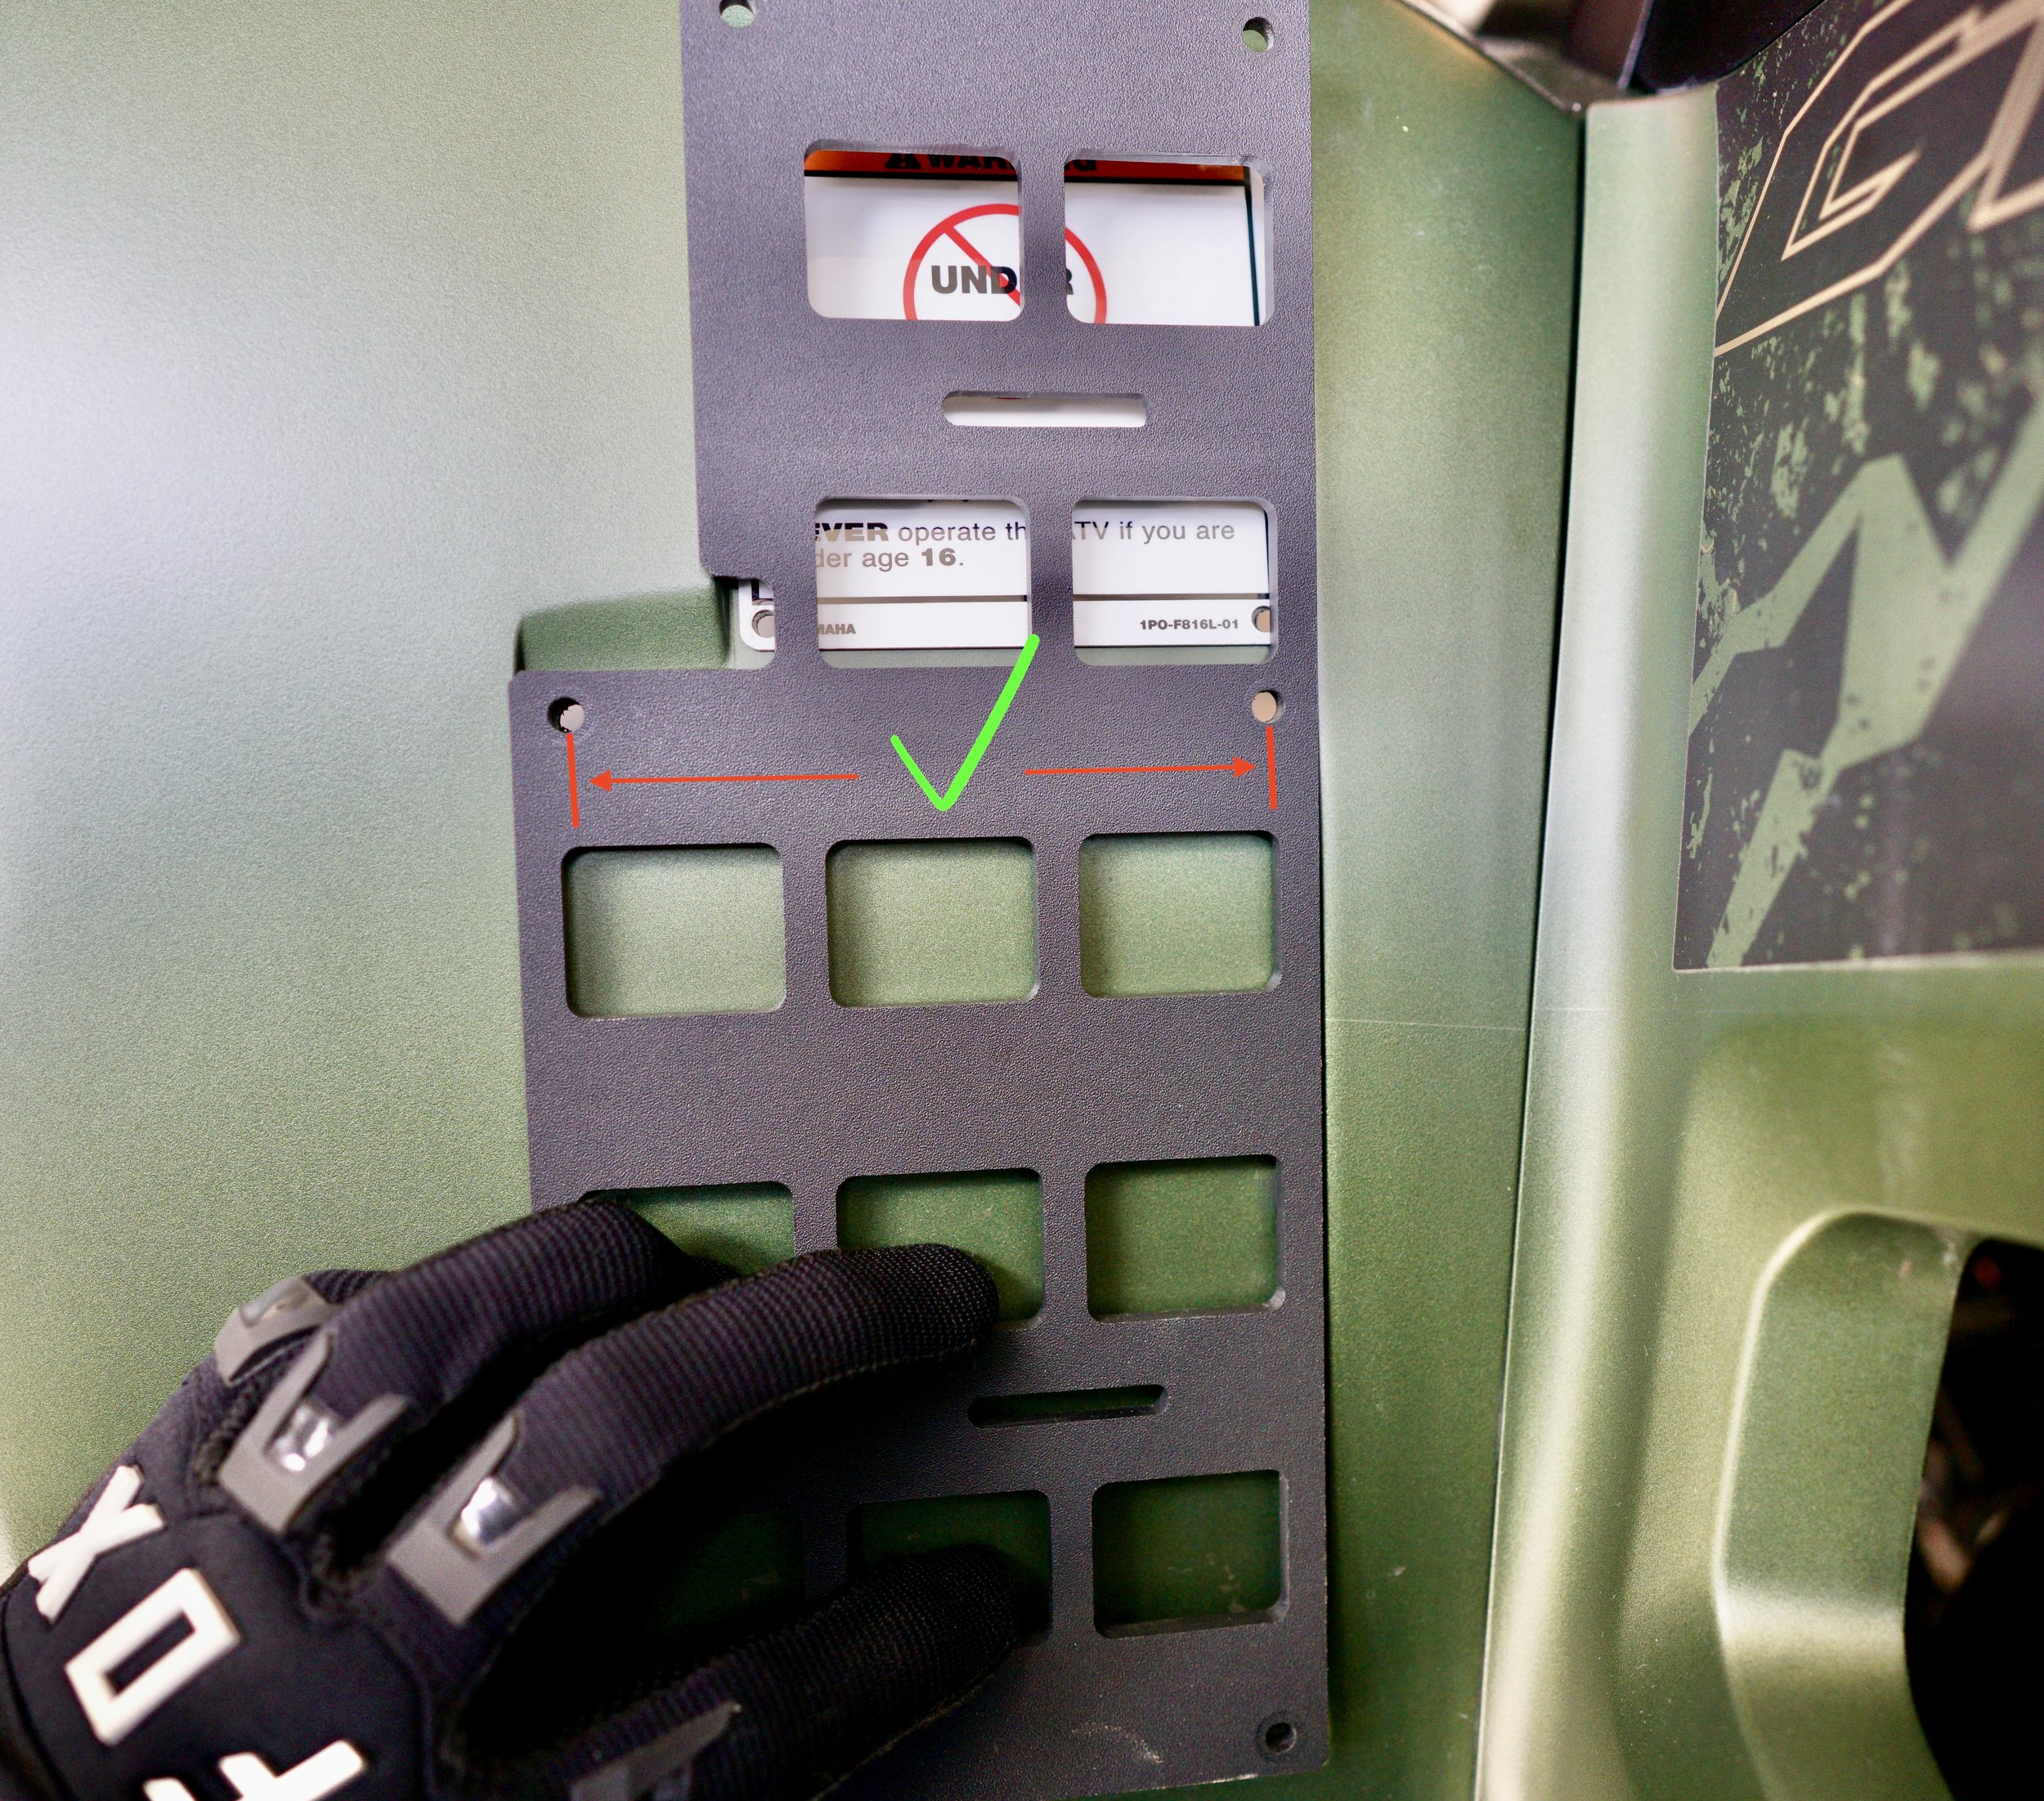
Using a cordless drill and a sharp 3/16” drill bit, carefully drill into the center of the rivet head. If the rivet freely spins in the hole, reach around the backside of the fender with pair of pliers and grip the back of the rivet during drilling. Take your time and proceed slowly. As soon as the head of the rivet comes loose, stop drilling and remove the rivet by hand (if it hasn’t already fallen loose). After the rivet is completely removed, use the 3/16” drill bit and drill through the hole in the fender. This will ensure the hole is just the right size for the mounting screws. Repeat this for each rivet that aligns with a mounting hole on your Modular FenderLink. It is not necessary to remove the “Warning” stickers that the rivets are fastening to the fenders. You may leave them in place and continue with the installation. Remove the stickers at your own risk.
STEP 13
Double check that the Modular FenderLink aligns with the holes in the fender now that the rivets are removed.
IMPORTANT: The horizontal distance between the holes in the Modular FenderLink should match up very closely with the horizontal distance between the holes in the fender. However, the vertical distance between the holes on the Modular FenderLink (from the bottom to very top) will be spaced larger than the vertical distance between the holes in the fender. In other words, the vertical spacing should NOT match up perfectly with the vertical spacing of the predrilled rivet holes in the fender.
Don’t worry, this is BY DESIGN and accommodates the curvature of the fender and the spacing of the Modular FenderLink off the surface of the fender.
STEP 14
If you opted to remove your warning stickers (not a necessary step), you will find that you have extra holes that are not used for mounting the FenderLink. As a result, it’s worthwhile to fill or block the unused holes to prevent water from making its way through. This can be done after the installation of your FenderLink by thoroughly cleaning the backside of the fender (for good adhesion) and applying a small bead of clear silicone. Alternatively, you may use your choice of stainless steel bolt or even a rivet to block the extra holes, but these latter options may be better applied before you install your FenderLink.
Once you’ve decided your preference for blocking the holes, go back to Step 9 and proceed from there.


